User guide
The first time you run Feather and visit your site you should see the welcome screen of the system installer.
During this phase you can't use your site, if you try to alter the URL in your browser Feather will redirect you back to the install page.

Press the start installation button and wait until the system can perform the necessary steps to get your site ready.

After the setup is completed you can click the let's get started button to visit your new Feather CMS powered site.
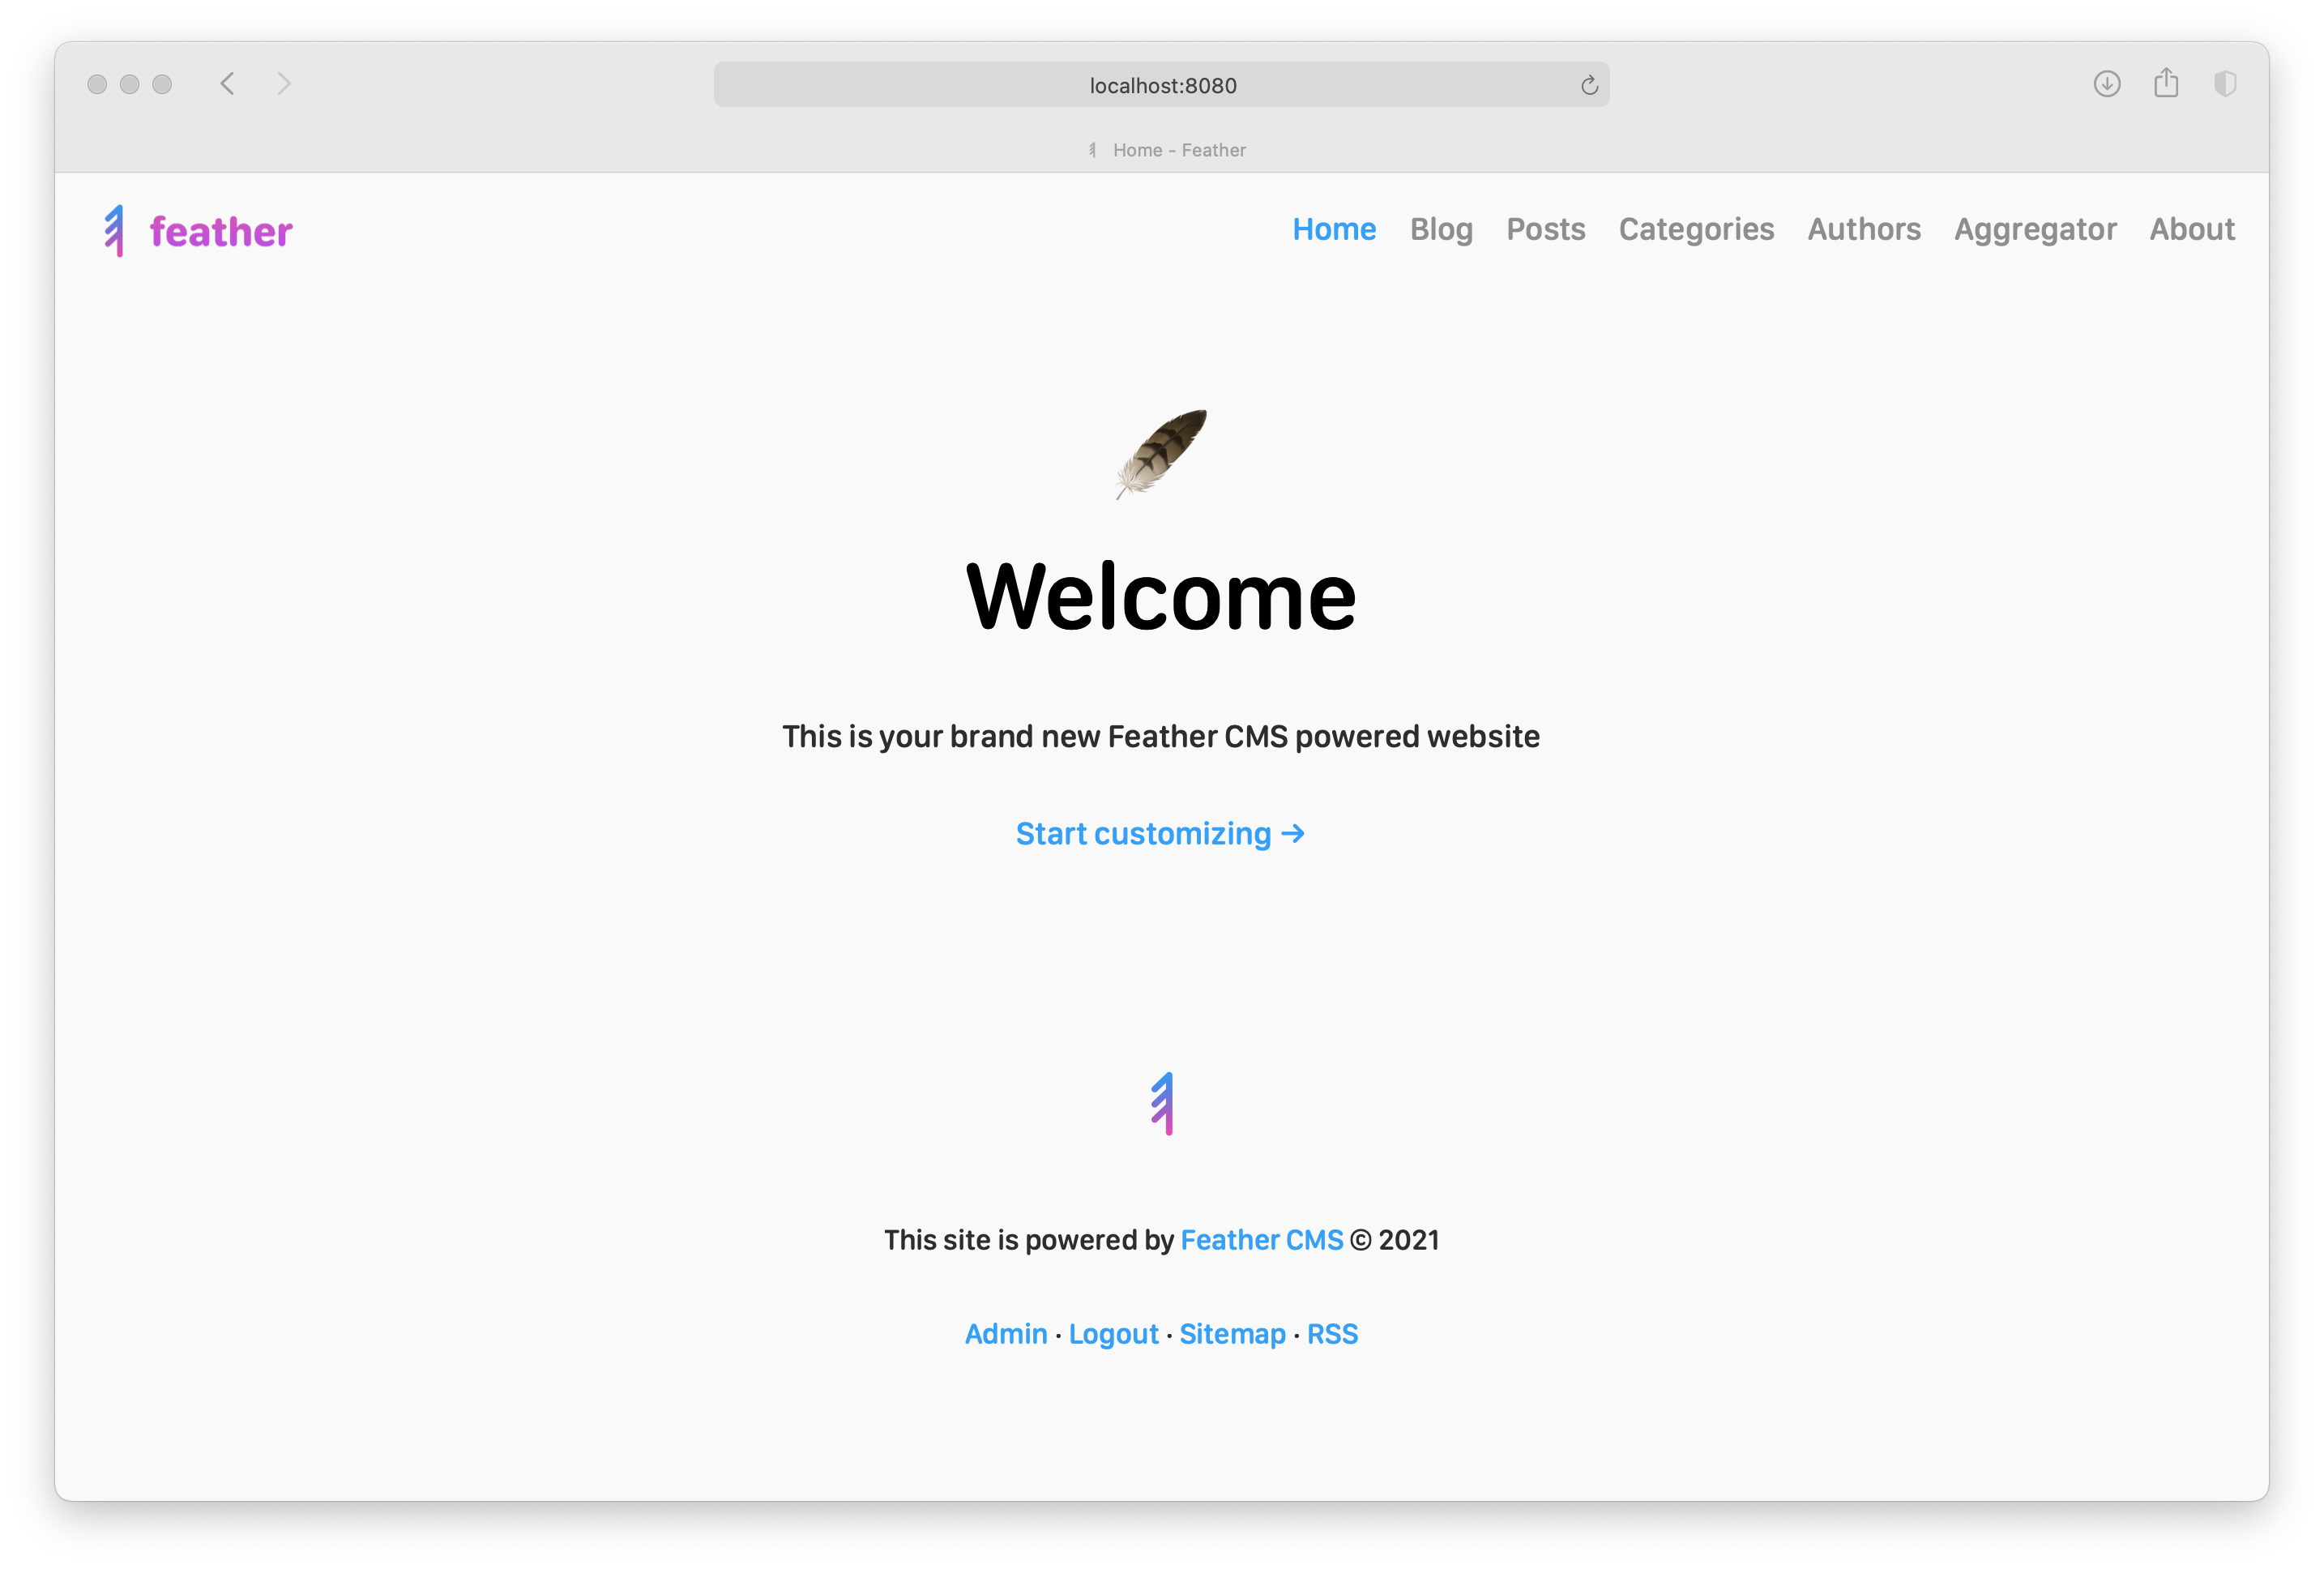
The welcome screen contains a few key areas:
- Site logo (top left)
- Main menu (top right)
- Body (center, welcome content)
- Footer top section (bottom area, Feather logo)
- Footer copy (bottom area, powered by & copy text)
- Footer menu (bottom)

You can click the start customizing button quickly enter the admin interface. You must be logged in in order to access the CMS.
You can click the login button in the footer menu to show the login screen.
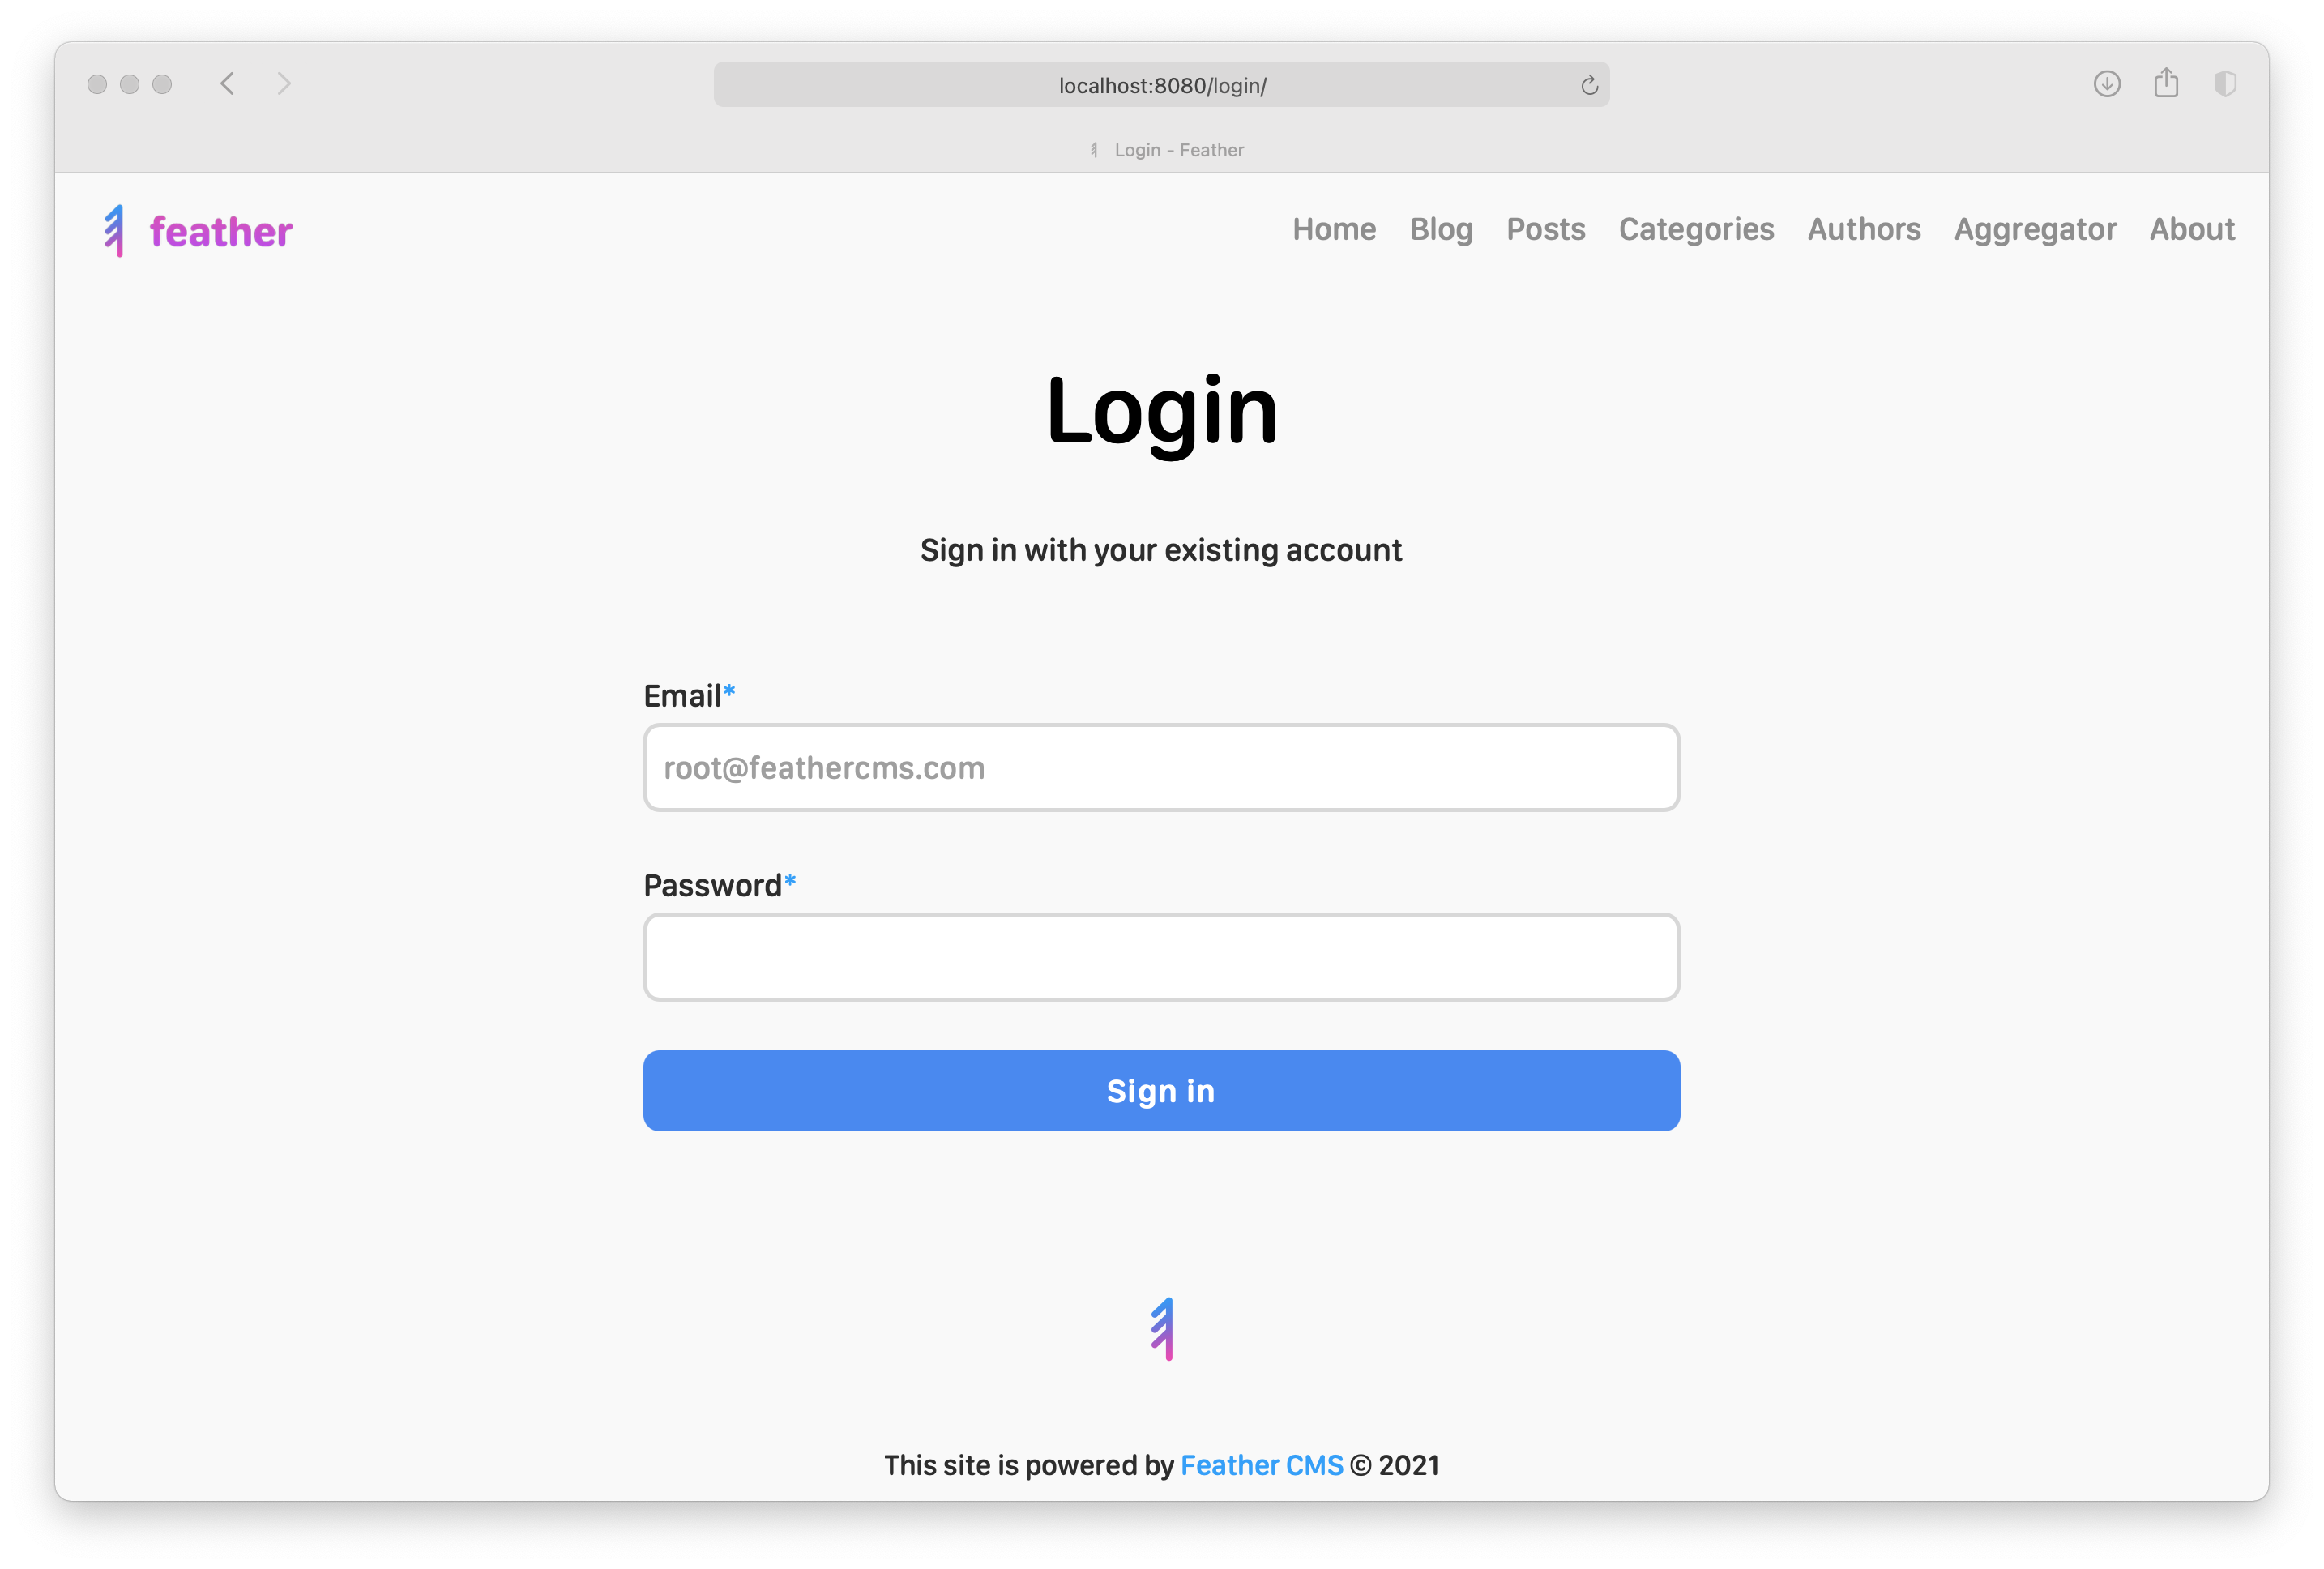
After a clean install you can use the default root credentials to log in to your new site.
By default the root user account has the following credentials:
- Email:
[email protected] - Password:
FeatherCMS
You have to enter your user credentials using the form fields and press the sign in button after you've filled the email and password fields.
After a successful login attempt should be redirected to the home page and see the both the admin and logout buttons in the footer menu.
After you've logged in, click the admin menu in the footer. On the admin dashboard click the "Users" menu item inside the User box.

From the list of users, pick the root account and click on the edit button (pencil icon).

In the edit user screen alter the email address of your user, and provide a new password. You have to use a valid email address, otherwise you'll see an error message. You should always pick a strong password or even better, use a password manager application.
💡 If you leave the password field empty, your password won't be changed.

Press the "Save" button to confirm the changes.
The next time you log in you have to use the new credentials.
If you are on the frontend of your site you can use the "Logout" button in the footer menu (bottom of the screen).
When you are using the CMS, you can click the "Sign out" button on the top right corner to simply log out.
On the admin dashboard click the "Site settings" button inside the frontend box.
Under the site settings, you will see multiple options to change the look and feel of your site.
You can change the logo of your site by uploading a new image.
The logo should be in the following format:
- file type: PNG (with alpha channel)
- recommended image size: 768px x 256px
- recommended vertical (top bottom) safe area: 16px
- recommended horizontal (left, right) safe area: 32px
Sample site logo image:
![]()
💡 Feel free to download the sample image and replace your own logo with the original.
When you are ready with your image give it a proper name ([my-brand]-logo.png) and save it as a PNG image.
Click the "Choose File" button under the site settings and select your image file.
Press the "Save" button on the bottom of the screen (scroll down) or you can use the top right floppy icon.
![]()
🤔 Don't worry if you keep seeing the Feather CMS logo in the admin, the site logo is only used on the frontend.
![]()
💾 In Feather CMS you can always press the CMD+S shortcut to save the current form (under macOS).
![]()
❌ If you want to remove the uploaded logo just click the "Remove" checkbox and save the form again.
Next to the site logo section under the general box you can set the title and the excerpt of the site.
The title will appear after each and every page (e.g. Home page - My site title), also used for meta title (SEO).
The excerpt is used as a default value for pages without meta description (SEO).
Content filters can be used to transform the content of a page.
Frontend pages can take advantage of those filters, you can enable or disable them under the referenced metadata form.
You can setup global content filters by under the site settings, they will be applied to every content by default.

💡 You can still override global content filters on a local basis by updating them using the metadata edit form.
You can set the locale format and the time zone for your site under the site settings.

The locale format is used to format dates, and the current locale will be used as the lang attribute of the frontend HTML.
The timezone is used to calculate the publish date for various content types and also used to display date values.
You can alter some basic design variables under the site settings.

The primary link color is a CSS color value, feel free to enter any hex value (with a # prefix) or any valid color name.
The secondary link color is a CSS color value, feel free to enter any hex value (with a # prefix) or any valid color name.
The font family can be a list of valid CSS font family names that you want to use for the entire site.
The base font size is a CSS font size value that will be the base font size for the entire site.
If you want to inject CSS code on a global level, you can use the CSS field under the site settings.

You can use all kind of media queries, selectors, basically anything that's a valid CSS code.
It is possible to add global JavaScript code through the JavaScript field under the site settings.

If you go to the front page and turn on the web inspector you can verify that the injected code is working.

That's a quick and easy way to insert short CSS and JS snippets.
🔨 If you want to create your own theme, you should read the related developer documentation in the wiki.
You can alter the footer section under the site settings.

The footer is divided into four main areas:
- top
- copyright
- bottom
- menu
You can use a valid HTML code to setup your top and bottom areas using the right input fields.
The copyright text is constructed from the following parts:
- copyright value
- © symbol
- copyright prefix value
- current year
You can use the copyright value to change the first part of the text.
Use the prefix input field to provide a "year from" value (e.g. "2015 - ")

As you can see it's very easy to create your own style with Feather CMS.
A page is literally a subpage on your website (e.g home, about, any other custom page).
On the admin dashboard, select the Pages menu item in the Frontend box.
On the top left corner press the add button (plus icon) to create a new page.

💡 You can also edit an existing page by clicking the edit (pencil icon) button on a list item.

Fill the title and the content fields of the create form and save it to create the page.
🤔 Pages are content types, they always have an associated metadata object reference.
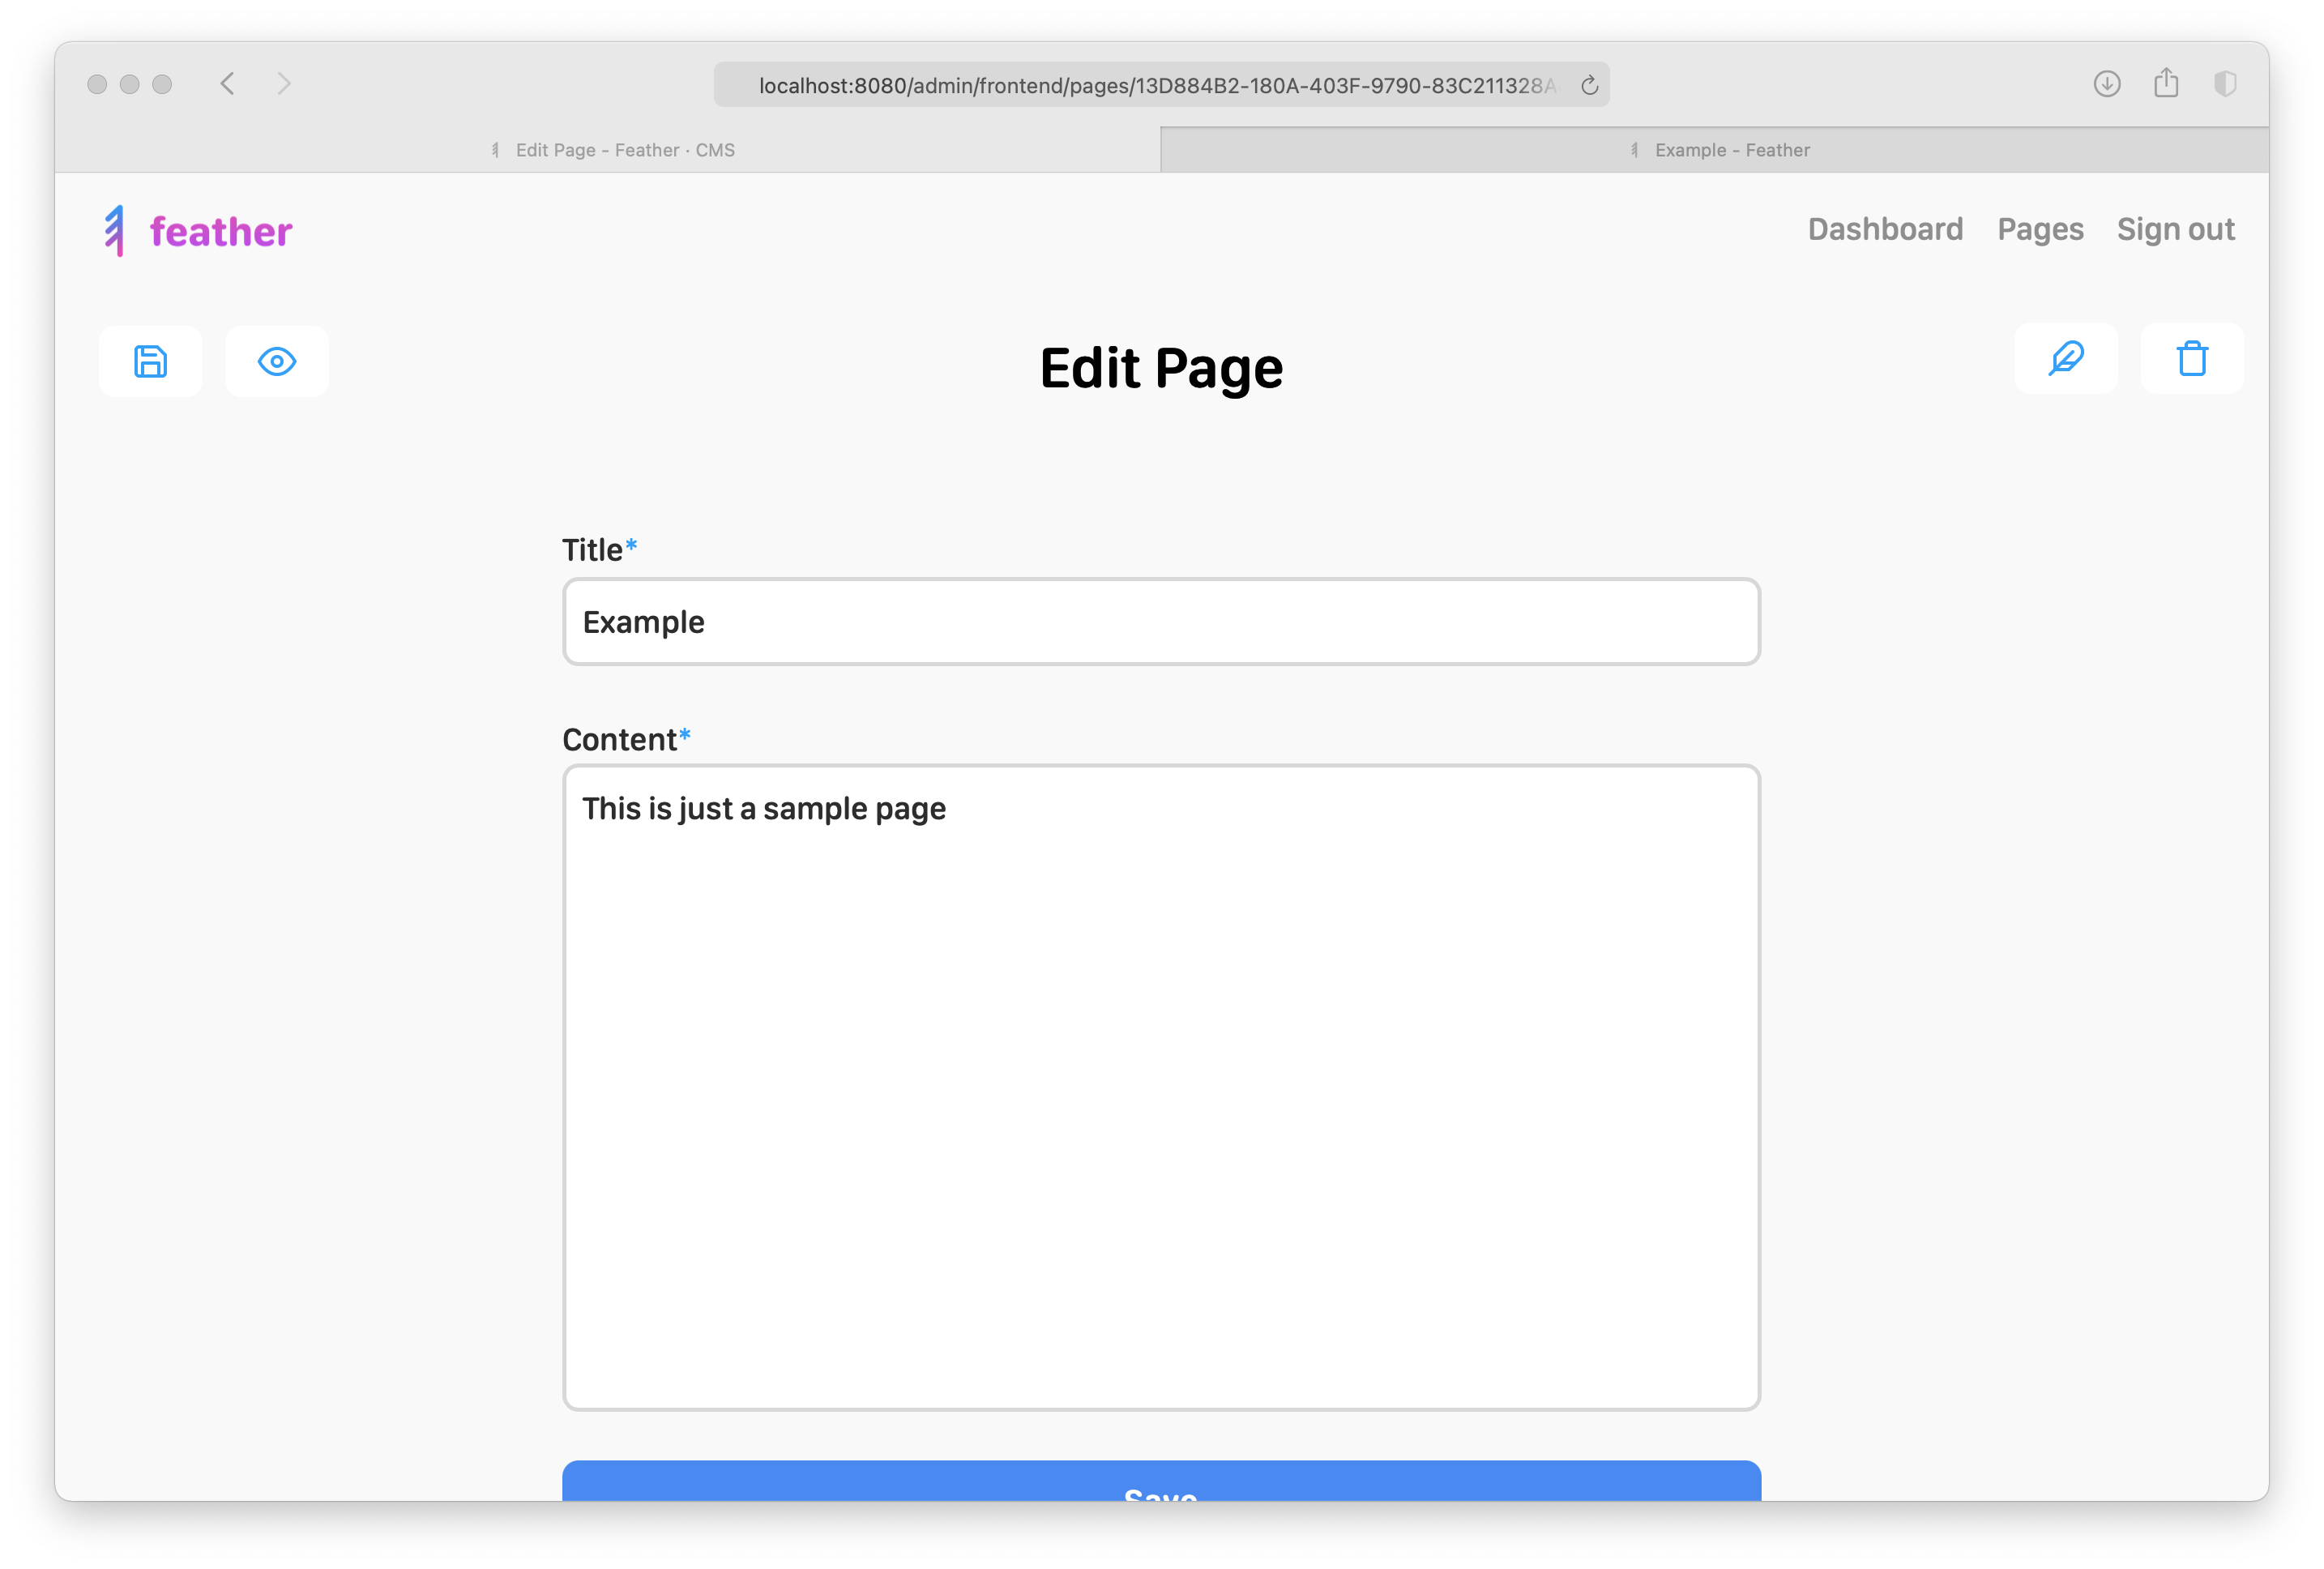
After you save the page some new icons will be visible on the toolbar.
👁 The view button (eye icon) only shows you the page details in a separate admin view.
🪶 The Feather icon always takes you to the associated metadata object or back to the original content.
A metadata object contains additional information about a content type.

A page is a content type, when you create one a metadata reference will be created for you automatically.
This metadata object is based on your original page object, but you can update it anytime you want.

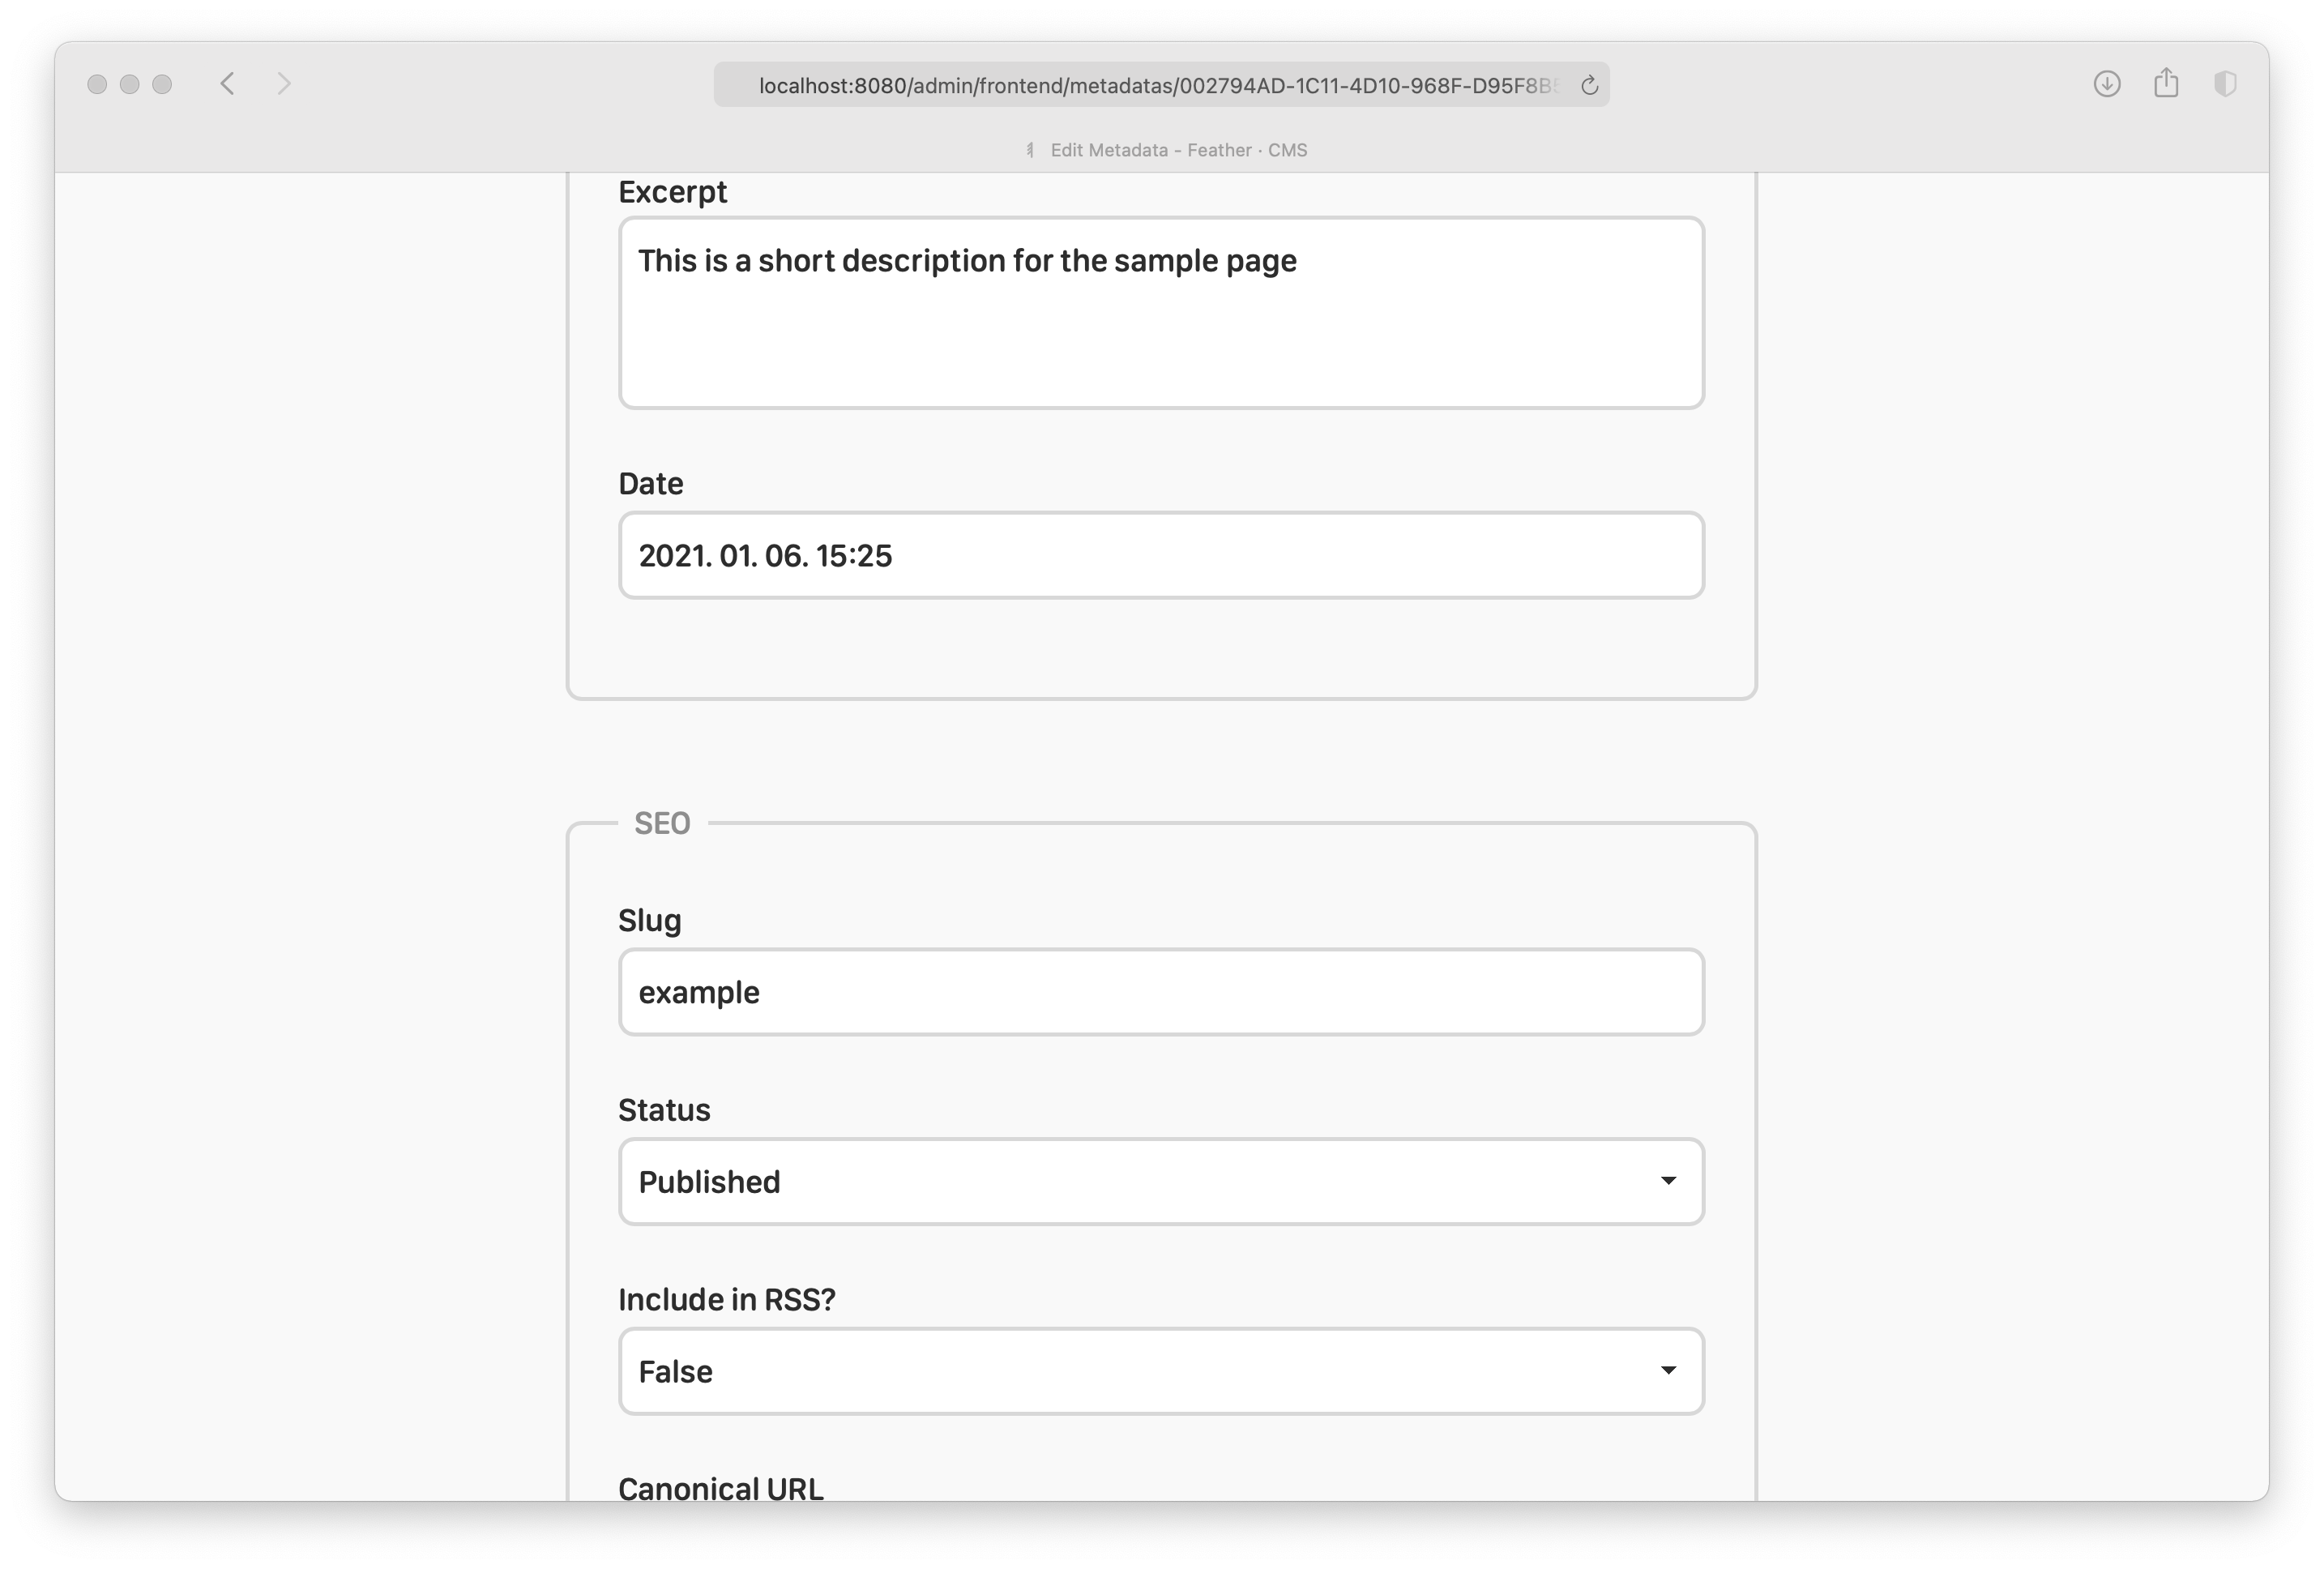
It is possible to set a custom preview image, title, excerpt (short description) and publish date for the metadata.

This information will be used when you share your content on a social media platform (metatags).
The SEO box allows you to set Search Engine Optimization related properties of the referenced content.

Slug The slug is the user-friendly part of the URL, which identifies a content (in this case page) on a website. The slug will be automatically generated for you, based on the page title, when you create your page. If you change your page title you have to take care of the slug update, since you might want to add a redirection rule as well.
Status The status of a content manages its visibility and index property. The following status values are available:
- draft: only available directly through the slug, but SEO robots can see, but won't index it
- published: public page, fully available everywhere (frontend, sitemap, etc.), robots can see and index it
- archived: page is not available anywhere, robots can't even see nor index it
Include in RSS? If this property is true, the content will be included in the RSS feed.
Canonical URL If the page is a duplicate or republished from other site you can mark the canonical source through this field.

You can apply one or more content filters in this section to transform your content. Global content filters won't be selected by default, you can explicitly override them if you select a filter here. You can also disable all filters by selecting the "Disable all filters" option (this disables both global & local filters).
In this section you can provide additional CSS and JavaScript snippets that are going to be part of your page. Global (site) related CSS and JS snippets can work with local code pieces. In other words global code injection snippets will be kept and included before the content specific code snippets.
Edit the associated metadata, update the status to published and make sure that the publish date is a past date.
Save the metadata and click the preview (share icon) button on the top right corner.

You can use HTML format or markdown (if you enable the markdown content filter) to build your pages.
💡 If you need additional resources for a given content, you can use the file module to upload assets.
You can delete a page by using the delete button (trash icon) if you have permission to perform the operation.
The delete button can be accessed from:
- the list of pages (trash icon)
- the edit from (top right corner)
- the page viewer interface (top right corner)
If you click the icon you'll have to confirm the deletion first.
After you press the Delete button the page will be completely removed including the associated metadata reference.
🤔 You won't be able to delete metadata objects using the admin interface, you always have to remove the referenced content.