[ If the first line of this file starts with a "#", you are probably viewing it in Text mode. If you are in Visual Studio Code, should open the file in "Preview Mode". Right-click on the name of the file in the file explorer and select "Open Preview".]
Welcome to the course of The LEAGUE's Python curriculum. This module is all about games, and it works a bit differently than the previous modules. Instead of learning a series of lessons, you will be building games using PyGame by reading and analysing existing Pygame programs.
You will see three kinds of files in these lessons:
- README.md files - README files introduce the lessons.
- Jupyter Notebook files - These files have the extension '.ipynb' and are used to run Python code. They are rendered very nicely in GitHub and VS Code, so we use them for most content. They are also executable, so you can run the code in them.
- Python files - These files have the extension '.py' and are used to run Python code.
Of course, you will need to use your IDE, like VS Code, to run the Python files, but you have some options for viewing the Jupyter Notebook files. You can view them in GitHub, or you can open them in VS Code.
Viewing the files on the GitHub website is easy. Just vist the GitHub Repository here and view the file you want. We recommend usig GitHub to view the lesson files so oyou don't have to switch between windows a lot in VS Code.
There will only be a few traditional lessons in this module, and they will be short. Most of what you will learn will be from reading and analyzing code. This is a very important skill for a programmer. Each lesson or assignment will be in a directory with a README.md file that will explain what you need to do.
You will also need to read the Pygame documentation sometimes. You can find it at:
If you like extra help, you can also find many tutorials on the web. One of the best video tutorials is The Ultimate Introduction to PyGame
If you started your editor as a Codespace on Github, that is, you clicked
on a button like 
In the bottom pane of the VSCode window, click on the "PORTS" tab. ( If you don't see a "PORTS" tab, you probably can skip this step. )

Hover over the "Forwarded Address" for port 6080. You will see a small icon
that looks like 
You might need to drag the browser window to the right side of the screen. Your screen should look something like:
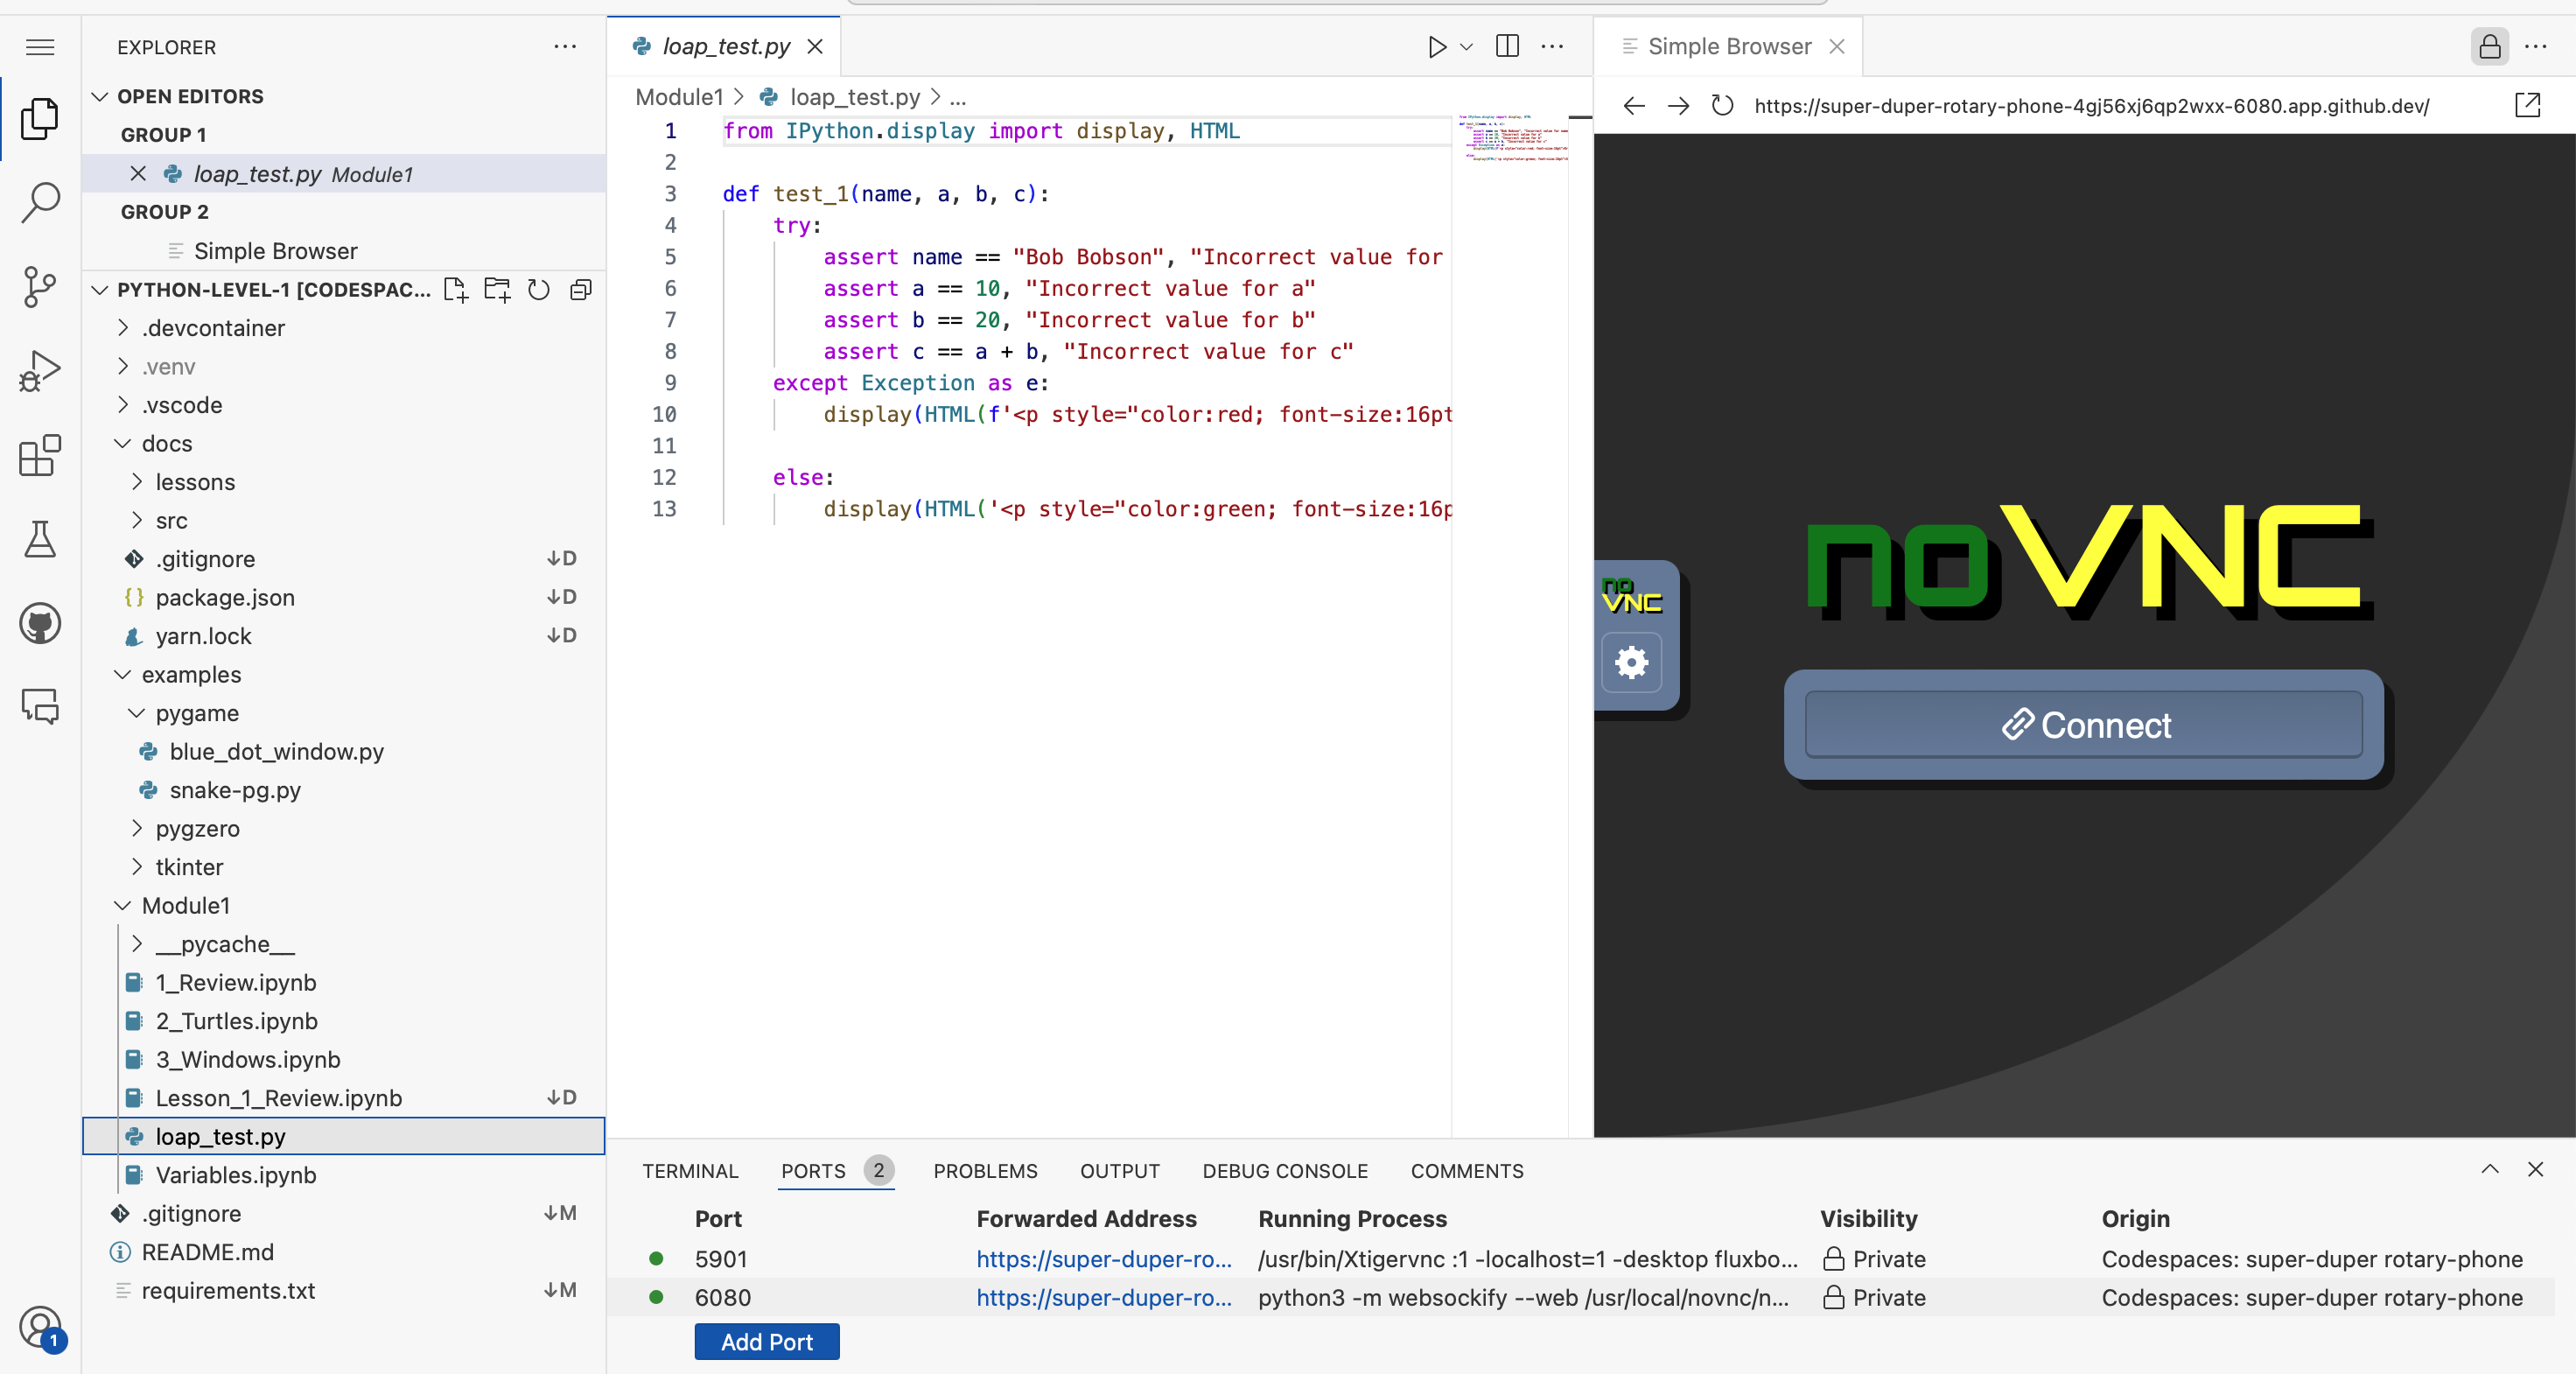
Click on "Connect". If it asks for a password, enter the passwod: "code4life"
Troubleshooting: if the "Simple Browser" pane takes up the whole editor area, try grabing the "Simple Browser" tab and drag it to the right side of the window; there should be a pale-blue shadow that shows where the pane will go. If it looks like the browser window is not loading, try clicking the circular reload icon at the top of the window.
Now you have a virtual screen running. When your program writes to the screen, it will show up in this window.
There are two ways to run a program. One is to use the "Run" button at the top
of the screen. This will run the program in the terminal window at the bottom of
the screen. This will run the program in the terminal like a normal program. If
you do this, you will need to close the program clicking the close button on the
game window, or by hitting Ctrl+C in the terminal window.
The other way is by running with the debugger, which will give you more control. Hit the F5 key to run the program with the debugger. The first time you do this for a program, you will need to select an option from a window at the top of the screen.
When you run with the debugger, you can stop the program by hitting the red square in the debugger window. Select the first option, "Python Debugger". Then you will get the debugger control window. You can use the buttons at the top of the window to step through the program, or to stop it. The debugger window looks like:

The red square will stop your program, and the green reverse circle wil restart it. The other buttons will let you step through the program.
Don't forget about the Pygame Documentation. Your programs will get better the more you know about Pygame.
Now go to the next lesson, lessons/01_Motion_and_Physics/README.md to start learning how to move things around the screen.