The Javascript client library to be used from browser/nodejs to raise analytics events for Core-Analytics-Server.
Embed the script in your HTML file and replace your_analytics_account_ID and appName
in the initAnalyticsSession call below:
<!-- Global window.analytics object - core.ai analytics services -->
<script async src="https://unpkg.com/@aicore/core-analytics-client-lib/src/analytics.js"
        onload="analyticsLibLoaded()"></script>
<script>
    if(!window.analytics){ window.analytics = {
        _initData : [], loadStartTime: new Date().getTime(),
        event: function (){window.analytics._initData.push(arguments);}
    };}
    function analyticsLibLoaded() {
        initAnalyticsSession('your_analytics_account_ID', 'appName');
        analytics.event("core-analytics", "client-lib", "loadTime", 1, (new Date().getTime())-analytics.loadStartTime);
    }
</script>
This will create a global analytics variable which can be used to access the analytics APIs.
NB: The script is loaded async, so it will not block other js scripts. analytics.event api can be called anytime
after the above code and need not wait for the script load to complete.
We can now start logging analytics events by calling analytics.event API.
The events will be aggregated and send to the analytics server periodically.
// analyticsEvent(eventType, eventCategory, subCategory, eventCount, eventValue);

// Eg: event without counts and values
analytics.event("platform", "os", "linux");

// Eg: event with count, here it logs that html file is opened 100 times
analytics.event("file", "opened", "html", 100);

// Eg: event with count and value, here it logs that the startup time is 250 milliseconds.
// Note that the value is unitless from analytics perspective. unit is deduced from subCategory name
analytics.event("platform", "performance", "startupTimeMs", 1, 250);

// Eg: event with fractional value.
analytics.event("platform", "CPU", "utilization", 1, .45);
// Eg. Here we register that the system has 8 cores with each core having 2300MHz frequency.
analytics.event("platform", "CPU", "coreCountsAndFrequencyMhz", 8, 2300);eventType- A string, requiredeventCategory- A string, requiredsubCategory- A string, requiredeventCount(Optional) : A non-negative number indicating the number of times the event (or an event with a particular value if a value is specified) happened. defaults to 1.eventValue(Optional) : A number value associated with the event. defaults to 0
There may be cases where you would want to load the script from JS alone. For Eg. you may want to delay library loading till user consents GDPR. For such use cases, use the below code.
function _initCoreAnalytics() {
    // Load core analytics scripts
    if(!window.analytics){ window.analytics = {
        _initData: [], loadStartTime: new Date().getTime(),
        event: function (){window.analytics._initData.push(arguments);}
    };}
    let script = document.createElement('script');
    script.type = 'text/javascript';
    script.async = true;
    script.onload = function(){
        // replace `your_analytics_account_ID` and `appName` below with your values
        window.initAnalyticsSession('your_analytics_account_ID', 'appName'); // if you have a custom analytics server
        window.analytics.event("core-analytics", "client-lib", "loadTime", 1,
            (new Date().getTime())- window.analytics.loadStartTime);
    };
    script.src = 'https://unpkg.com/@aicore/core-analytics-client-lib/dist/analytics.min.js';
    document.getElementsByTagName('head')[0].appendChild(script);
}
_initCoreAnalytics();
To load the library, just call _initCoreAnalytics() from JS. Note that you may not be able
to use analytics.event() APIs before _initCoreAnalytics() call is made.
If you want to modify how analytics library collects and sends information, it is recommended to do so with analytics server accountConfig.
Alternatively for one off development time uses, the behavior of the library can be configured
during the initAnalyticsSession call. initAnalyticsSession() takes the following parameters:
accountID: Your analytics account id as configured in the server or core.ai analyticsappName: The app name to log the events against. Eg: "phoenixCode"analyticsURL(Optional): Provide your own analytics server address if you self-hosted the server.postIntervalSeconds(Optional): This defines the interval between sending analytics events to the server. Default is 1 minutes or server controlled.granularitySec(Optional): The smallest time period under which the events can be distinguished. Multiple events happening during this time period is aggregated to a count. The default granularity is 3 Seconds or server controlled, which means that any events that happen within 3 seconds cannot be distinguished in ordering.
// Init with default values and server controlled config. use the following `analyticsLibLoaded` function
function analyticsLibLoaded() {
    initAnalyticsSession('your_analytics_account_ID', 'appName');
    analytics.event("core-analytics", "client-lib", "loadTime", 1, (new Date().getTime())-analytics.loadStartTime);
}

//Replace initAnalyticsSession in analyticsLibLoaded function for the below use cases.

// Example for custom initSession where the analytics aggregated data
// is posted to custom server https://localhost:3000 every 600 secs
// with a granularity(resolution) of 5 seconds.
initAnalyticsSession("accountID", "appName", "https://localhost:3000", 600, 5);If you want to see detailed logs on what is happening inside analytics lib, use the below code:
// Just before initAnalyticsSession call, set or unset window.analytics.debugMode
window.analytics.debugMode = true;
initAnalyticsSession("accountID", "appName");Since this is a pure JS template project, build command just runs test with coverage.
> npm install   # do this only once.

# Before raising a pull request, run release script and add the generated
# minified files in dist folder to commits .
# WARNING!!!: If the minified files are not checked in git push will fail.
> npm run releaseTo lint the files in the project, run the following command:
> npm run lintTo Automatically fix lint errors:
> npm run lint:fixTo run tests, open the file test/unit-test.html in the browser.
To publish a package to npm, raise a pull request against npm branch.
We use Rennovate for dependency updates: https://blog.logrocket.com/renovate-dependency-updates-on-steroids/
- By default, dep updates happen on sunday every week.
- The status of dependency updates can be viewed here if you have this repo permissions in github: https://app.renovatebot.com/dashboard#github/aicore/template-nodejs
- To edit rennovate options, edit the rennovate.json file in root, see https://docs.renovatebot.com/configuration-options/ Refer
Several automated workflows that check code integrity are integrated into this template. These include:
- GitHub actions that runs build/test/coverage flows when a contributor raises a pull request
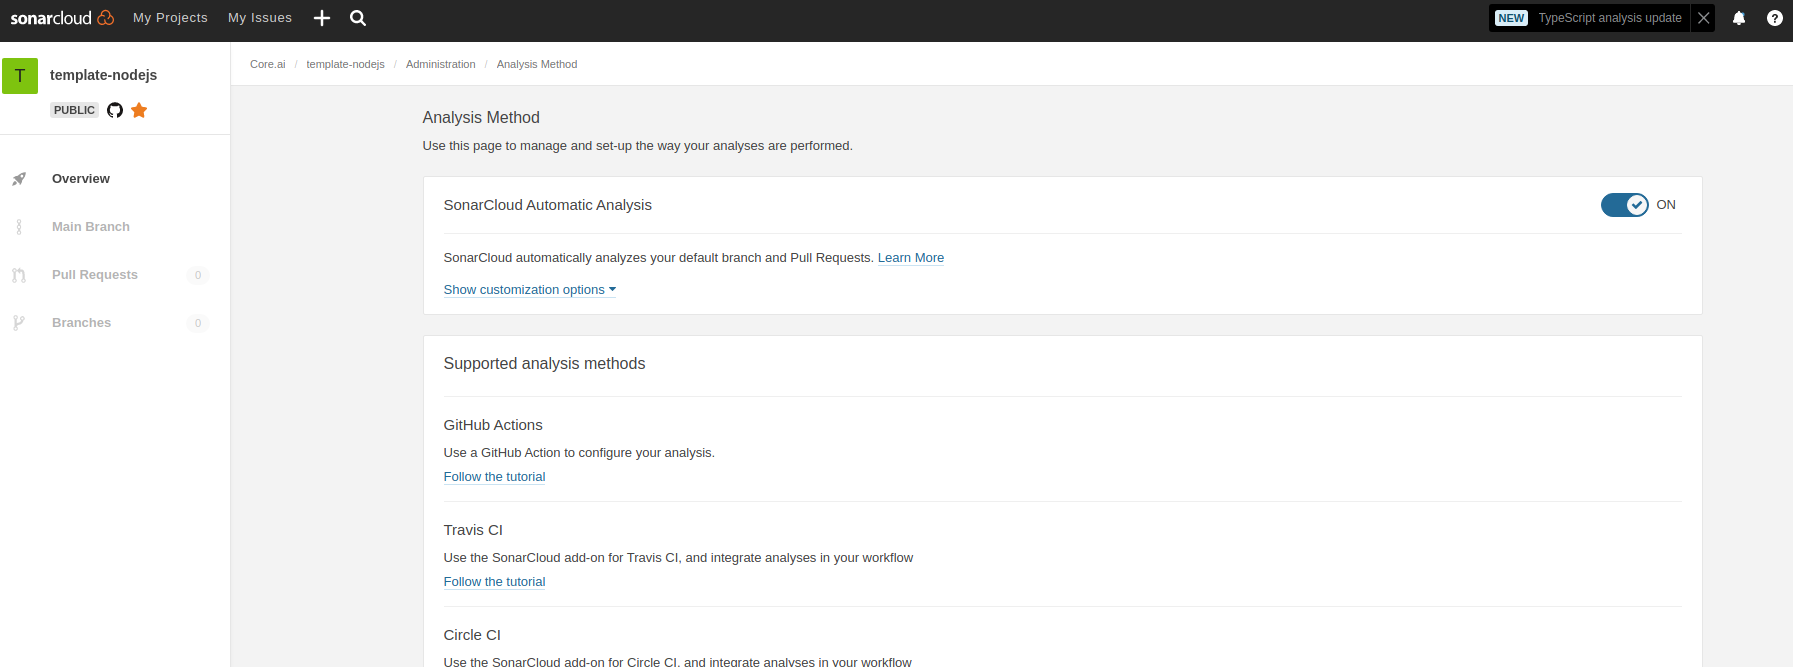
- Sonar cloud integration using
.sonarcloud.properties
SonarLint is currently available as a free plugin for jetbrains, eclipse, vscode and visual studio IDEs. Use sonarLint plugin for webstorm or any of the available IDEs from this link before raising a pull request: https://www.sonarlint.org/ .
SonarLint static code analysis checker is not yet available as a Brackets extension.
See https://mochajs.org/#getting-started on how to write tests Use chai for BDD style assertions (expect, should etc..). See move here: https://www.chaijs.com/guide/styles/#expect
