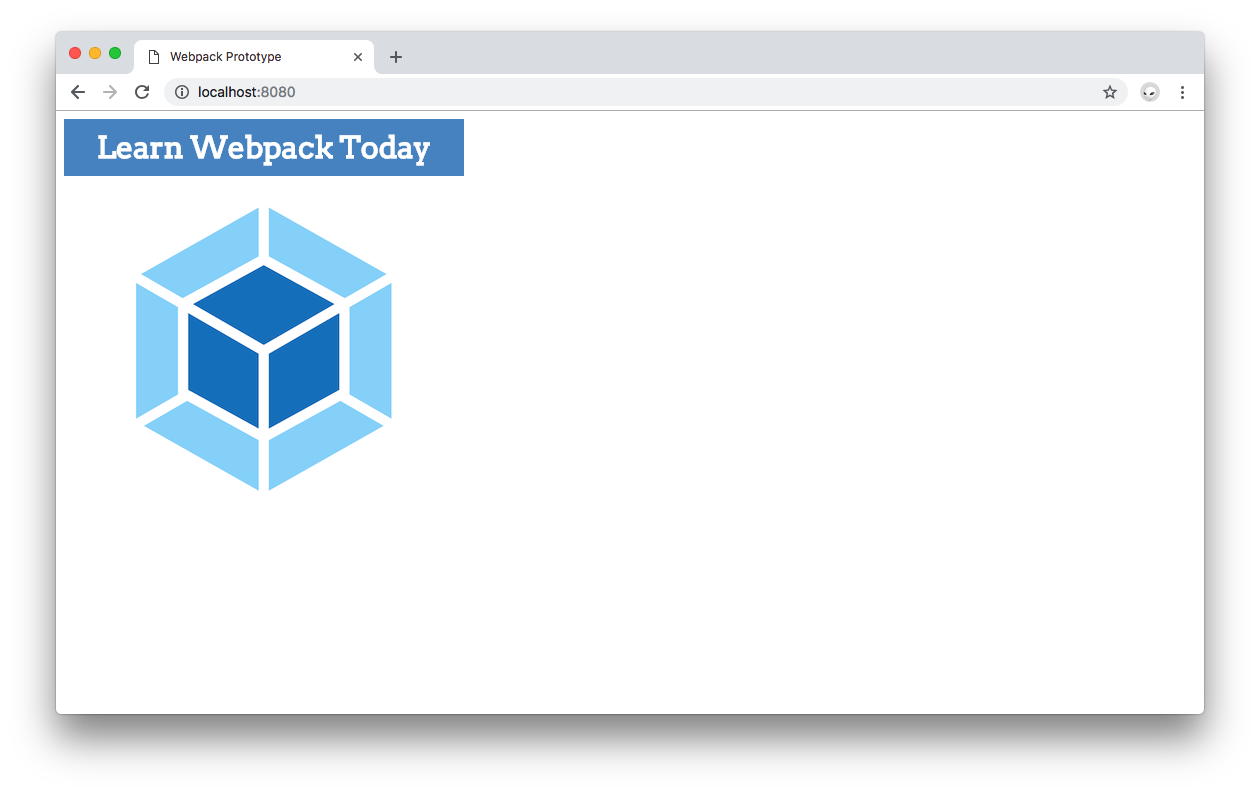
To run:
git clone [email protected]:auth0-blog/webpack-prototype.gitnpm installnpm run start:devSometimes you don't need a framework like Angular or React to demonstrate an idea or concept in JavaScript. You just want a framework-agnostic, plain JavaScript development environment to play around with things like web workers, service workers, new JavaScript constructs, or IndexedDB, for example. In this blog post, you are going to learn how to quickly prototype plain JavaScript apps using webpack 4 to create such environment with zero config and low development overhead.
Webpack is a leading static module bundler for frontend apps. It is used by tools such as create-react-app to quickly scaffold frontend projects. According to the webpack documentation, since version 4.0.0, webpack doesn't require a configuration file to bundle your projects; however, the module bundler remains highly configurable to meet the increasing complexity of your projects down the line.
You can find the final version of this exercise on the webpack-prototype repo on GitHub. However, I encourage you to read on and build the webpack app prototype gradually to better understand the heavy lifting that webpack is doing for you.
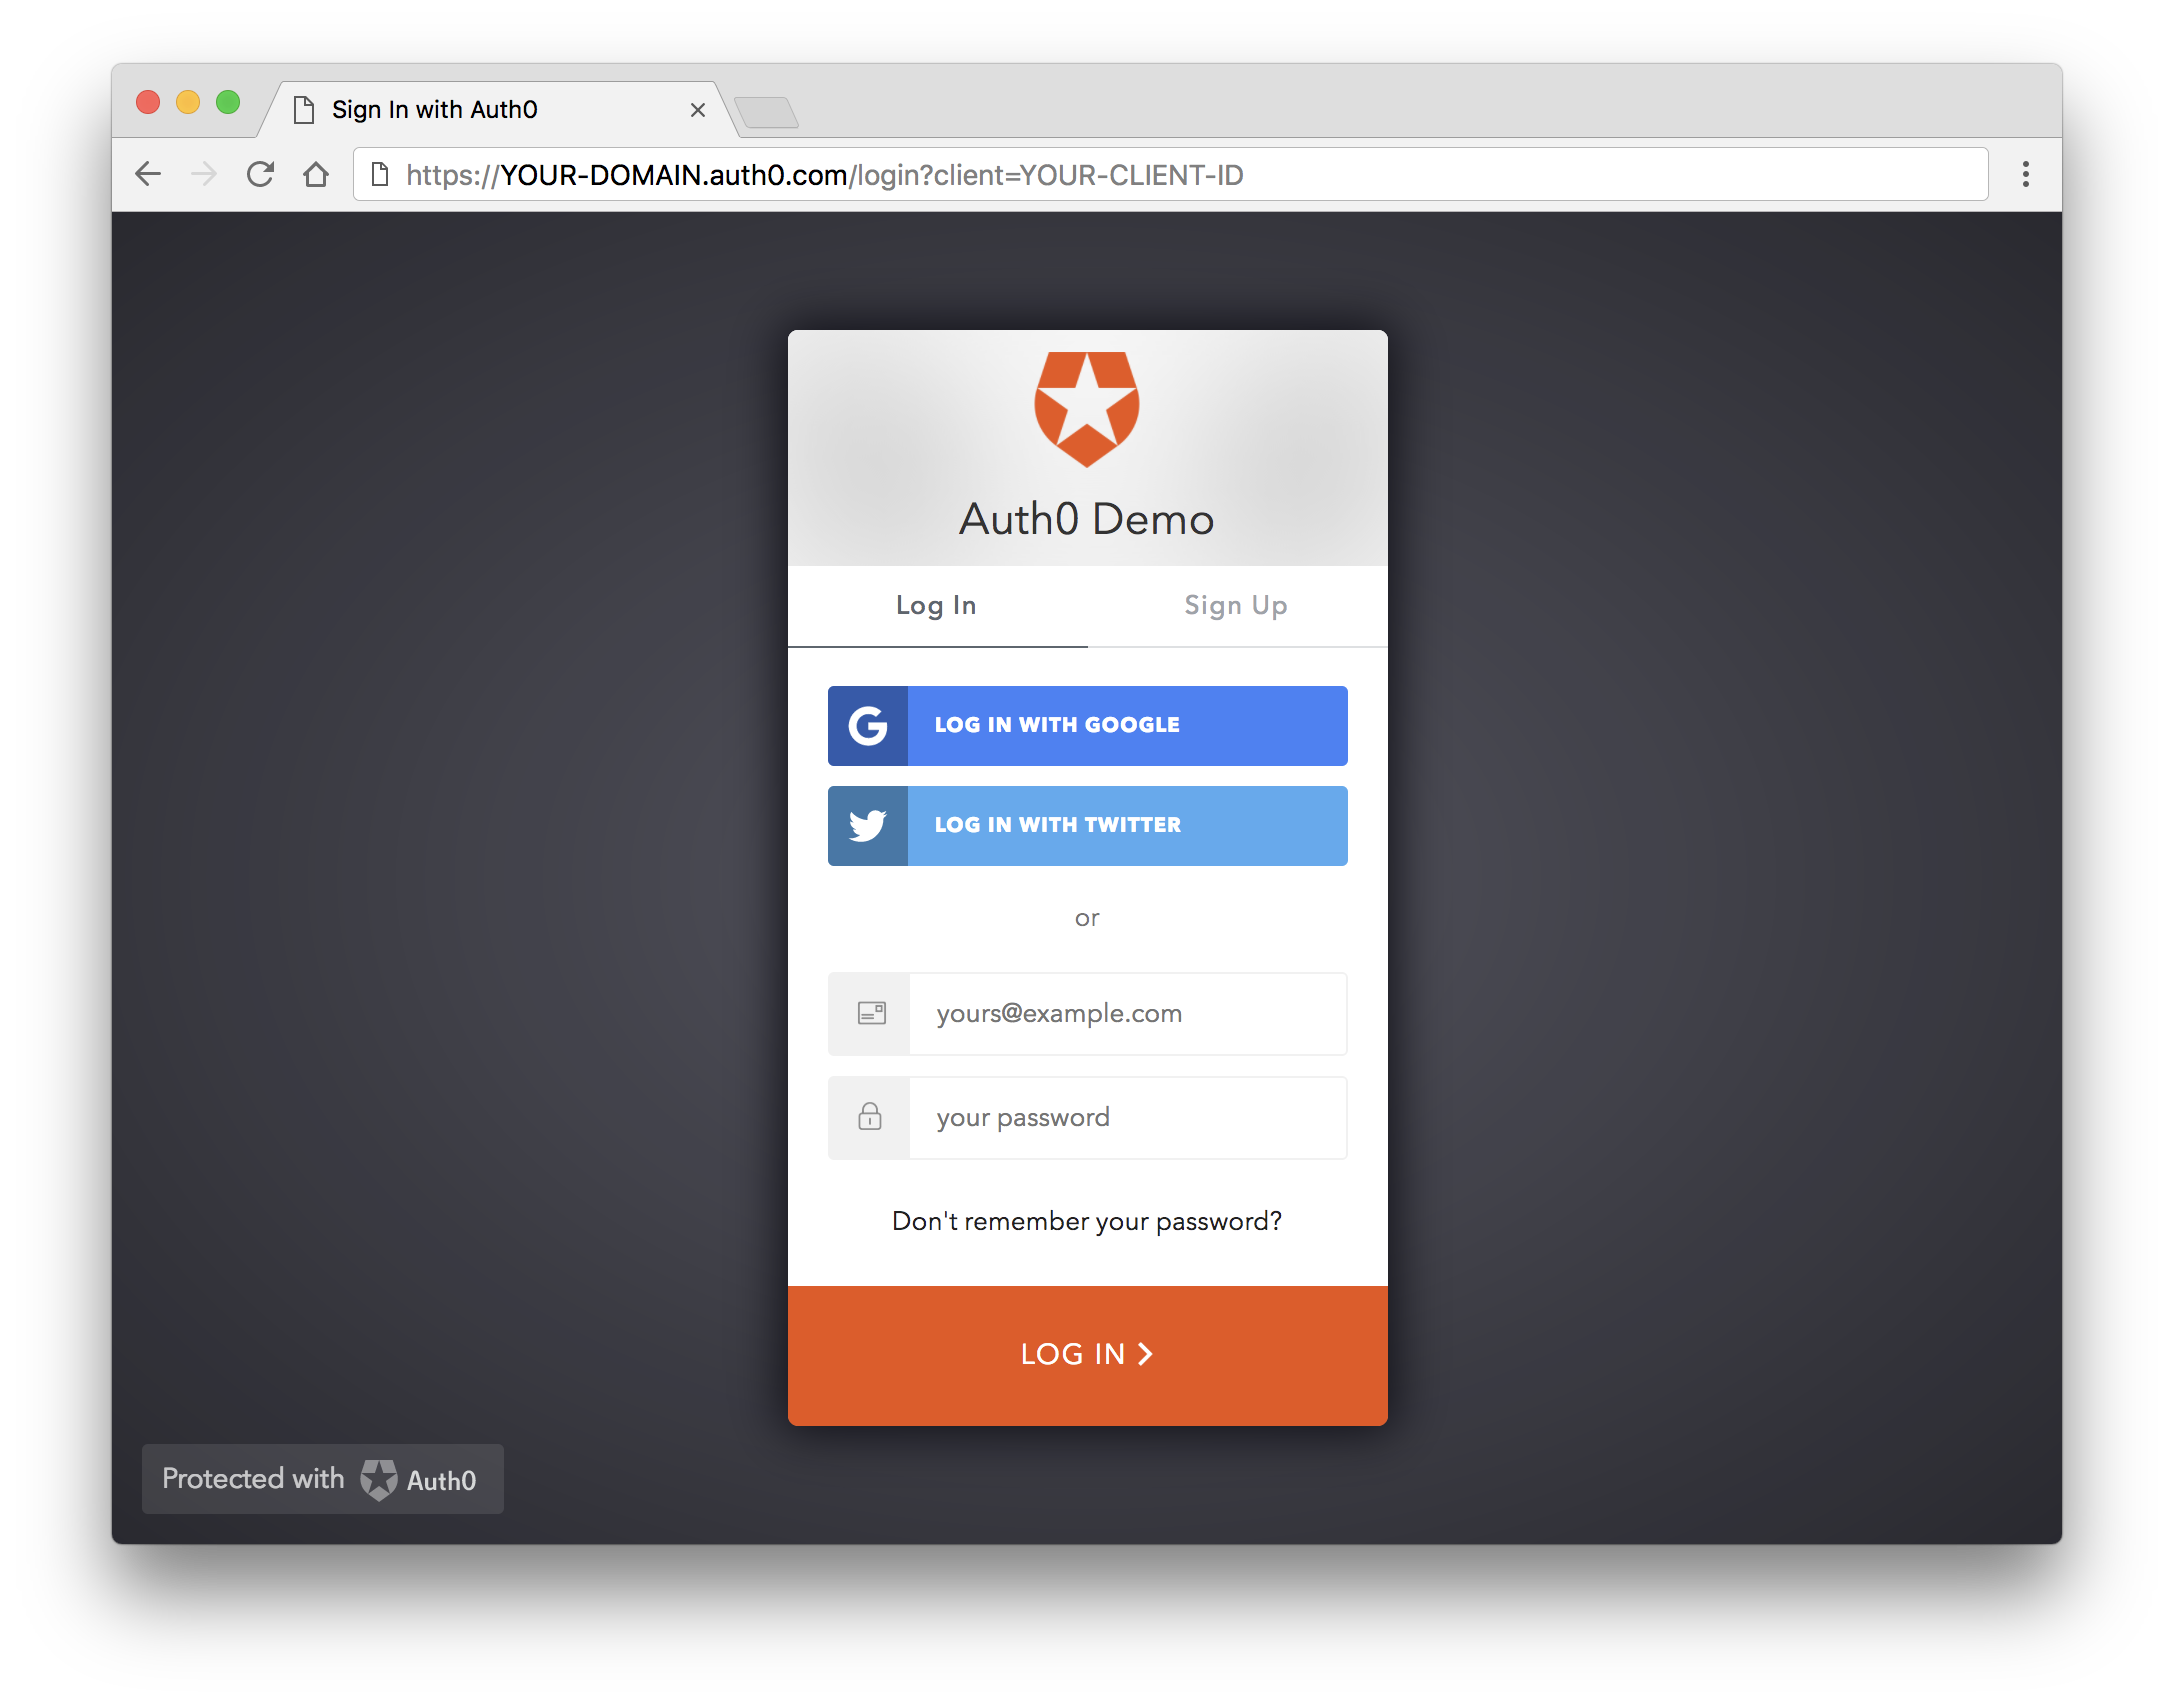
At Auth0, we make heavy use of full-stack JavaScript to help our customers to manage user identities including password resets, creating and provisioning, blocking and deleting users. We also created a serverless platform, called Auth0 Extend, that enables customers to run arbitrary JavaScript functions securely. Therefore, it must come as no surprise that using our identity management platform on JavaScript web apps is a piece of cake.
Auth0 offers a free tier to get started with modern authentication. Check it out, or sign up for a free Auth0 account here!
It's as easy as installing the auth0-js and jwt-decode node modules like so:
npm install jwt-decode auth0-js --saveThen implement the following in your JS app:
const auth0 = new auth0.WebAuth({
  clientID: "YOUR-AUTH0-CLIENT-ID", // E.g., you.auth0.com
  domain: "YOUR-AUTH0-DOMAIN",
  scope: "openid email profile YOUR-ADDITIONAL-SCOPES",
  audience: "YOUR-API-AUDIENCES", // See https://auth0.com/docs/api-auth
  responseType: "token id_token",
  redirectUri: "http://localhost:9000" //YOUR-REDIRECT-URL
});

function logout() {
  localStorage.removeItem("id_token");
  localStorage.removeItem("access_token");
  window.location.href = "/";
}

function showProfileInfo(profile) {
  var btnLogin = document.getElementById("btn-login");
  var btnLogout = document.getElementById("btn-logout");
  var avatar = document.getElementById("avatar");
  document.getElementById("nickname").textContent = profile.nickname;
  btnLogin.style.display = "none";
  avatar.src = profile.picture;
  avatar.style.display = "block";
  btnLogout.style.display = "block";
}

function retrieveProfile() {
  var idToken = localStorage.getItem("id_token");
  if (idToken) {
    try {
      const profile = jwt_decode(idToken);
      showProfileInfo(profile);
    } catch (err) {
      alert("There was an error getting the profile: " + err.message);
    }
  }
}

auth0.parseHash(window.location.hash, (err, result) => {
  if (err || !result) {
    // Handle error
    return;
  }

  // You can use the ID token to get user information in the frontend.
  localStorage.setItem("id_token", result.idToken);
  // You can use this token to interact with server-side APIs.
  localStorage.setItem("access_token", result.accessToken);
  retrieveProfile();
});

function afterLoad() {
  // buttons
  var btnLogin = document.getElementById("btn-login");
  var btnLogout = document.getElementById("btn-logout");

  btnLogin.addEventListener("click", function() {
    auth0.authorize();
  });

  btnLogout.addEventListener("click", function() {
    logout();
  });

  retrieveProfile();
}

window.addEventListener("load", afterLoad);
Get the full example using this code.
Go ahead and check out our Quick Start tutorials to learn how to implement authentication using different languages and frameworks in your apps.

