Repository navigation
Quick Start
GuPM in is a package manager written with the goal to unify the package management scene. Unifying doesn't mean centralising: the point of GuPM is also ensuring a community-driven development scene by working with decentralised repositories, and a powerful scripting/plugin system for customising the behaviours of the tools.
This guide assume you are familiar with NPM or equivalent (gem, yarn, maven, etc...) if you come from a background where you don't usually use a PM, please follow this link : ...
- Dependency management (g make / g install)
- Scripts (g myscript.gs will execute your script in a cross-platforme way)
- Publish
- Misc. (g env / g run / g ci / ...)
Let's start by installing GuPM. Please follow the instruction for you environment:
⌨️ $ curl -fsSL https://azukaar.github.io/GuPM/install.sh | sudo bash
If you are with Windows, GuPM doesn't currently automatically add its folder to the PATH.
Once installed you should be able to type g in your terminal and be greeted.
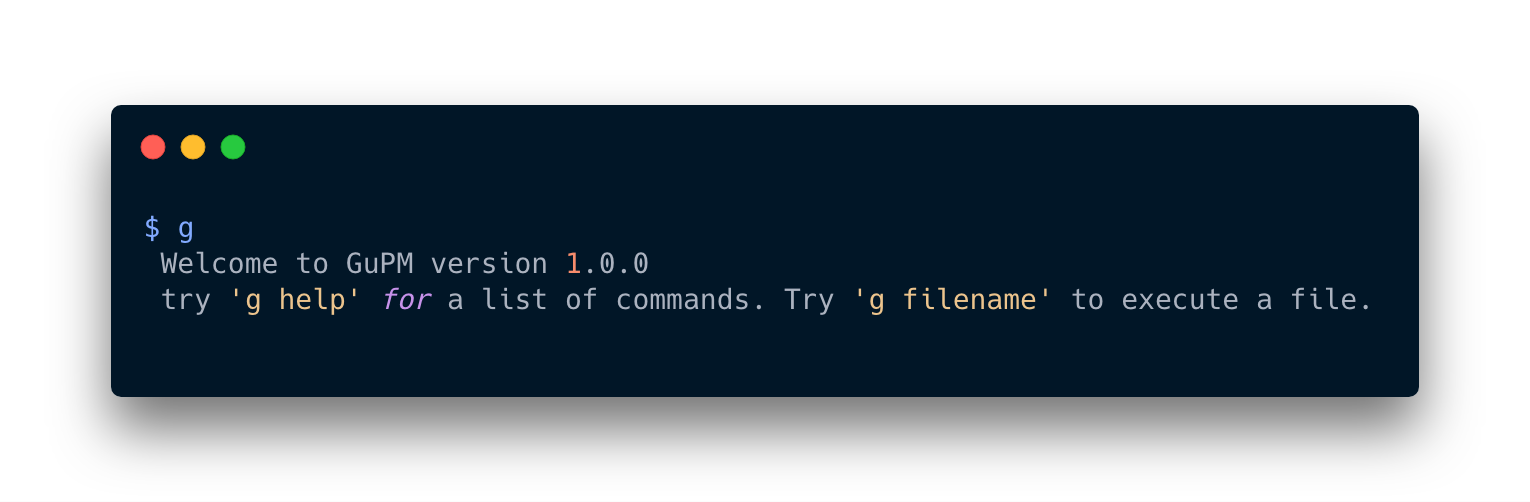
One of the first thing you're gonna want to do is install some plugins. For this example I will install a NPM provider (A provider is a plugin that give you access to alternative repos) from the official GuPM repo (https://github.com/azukaar/GuPM-official). execute g plugin install https://azukaar.github.io/GuPM-official/repo:provider-npm
Feel free to use any other plugins as they will all work the same way.

This gives you access to NPM as a provider (It does not require you to install NPM to work!). you can use that plugin by adding -p npm after commands you execute. The most basic thing you can do at this point is to bootstrap your project! let's go ahead. Pop a terminal in an empty folder and : g bootstrap. By the way, all the CI commands and arguments in GuPM have shorthands : g b works as well.
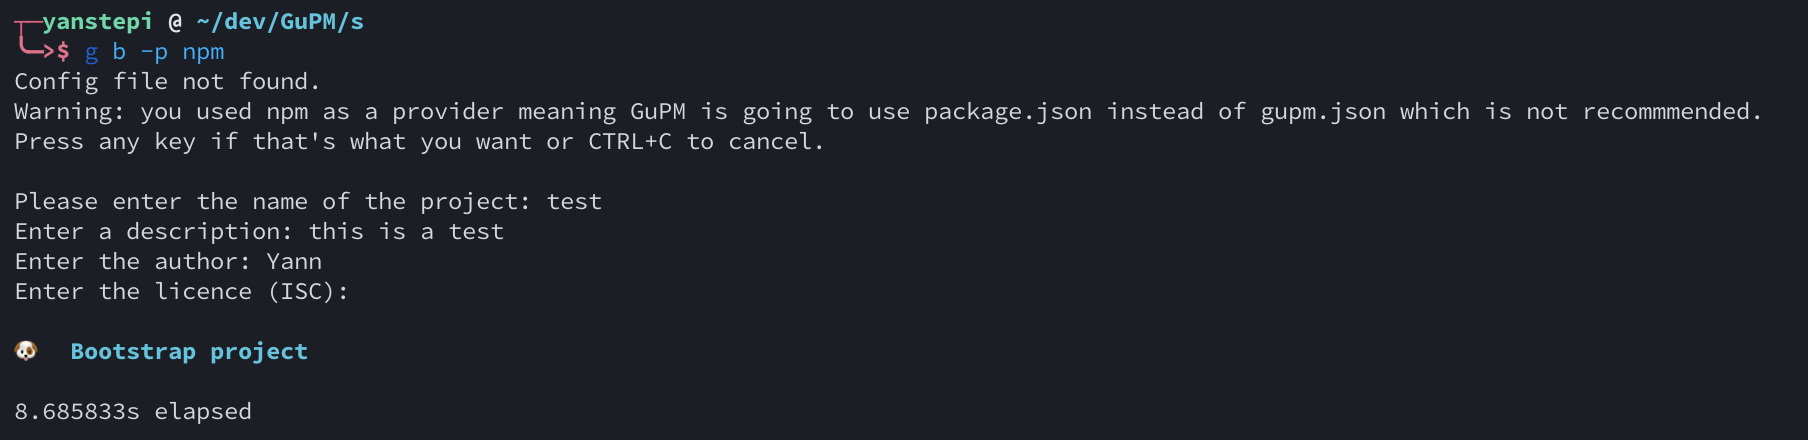
This will have created a gupm.json file with your basic infos.
Some providers will have a custom bootstrap. NPM is one of them. If =you execute
g b -p npmyou will give you the possibility to generate a package.json file instead of a gupm.json file and will give you the possibility to import your deps in an existing npm project.
The main thing you want to do with GuPM, is to install dependencies. You have two potential ways of doing this.
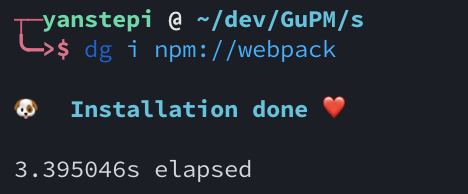
First, the recommended way is to continue to use gupm.json and install deps using the protocol string. For example : g install npm://webpack will install webpack with npm but using GuPM's logic.
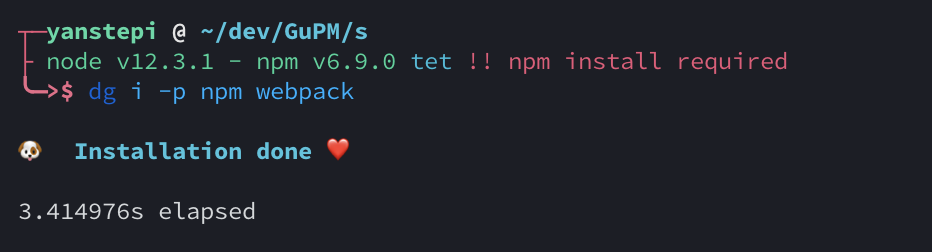
In some cases, you want to hard-use NPM's logic (Mostly if you're planning to publish a library to NPM) in which case you can do : g install -p webpack. Here, you're going to execute the "install" script of the NPM provider rather than the GuPM one. This affect will for example be that your dependency list will be saved in package.json instead of gupm.json.
# First, install dependencies

g -p npm webpack webpack-cli webpack-dev-server

# Then start webpack

g webpack-dev-serverThis was a very quick dive into how GuPM works, feel free to read more of the wiki, or checkout one of the medium article. Thanks for reading!