Forked from Hack Club's Personal Website workshop by Max Wofford: https://workshops.hackclub.com/personal_website/
Prophet Orpheus, the friendly mascot of Hack Club, is here to guide you through making your own personal website.
It will look something like this:
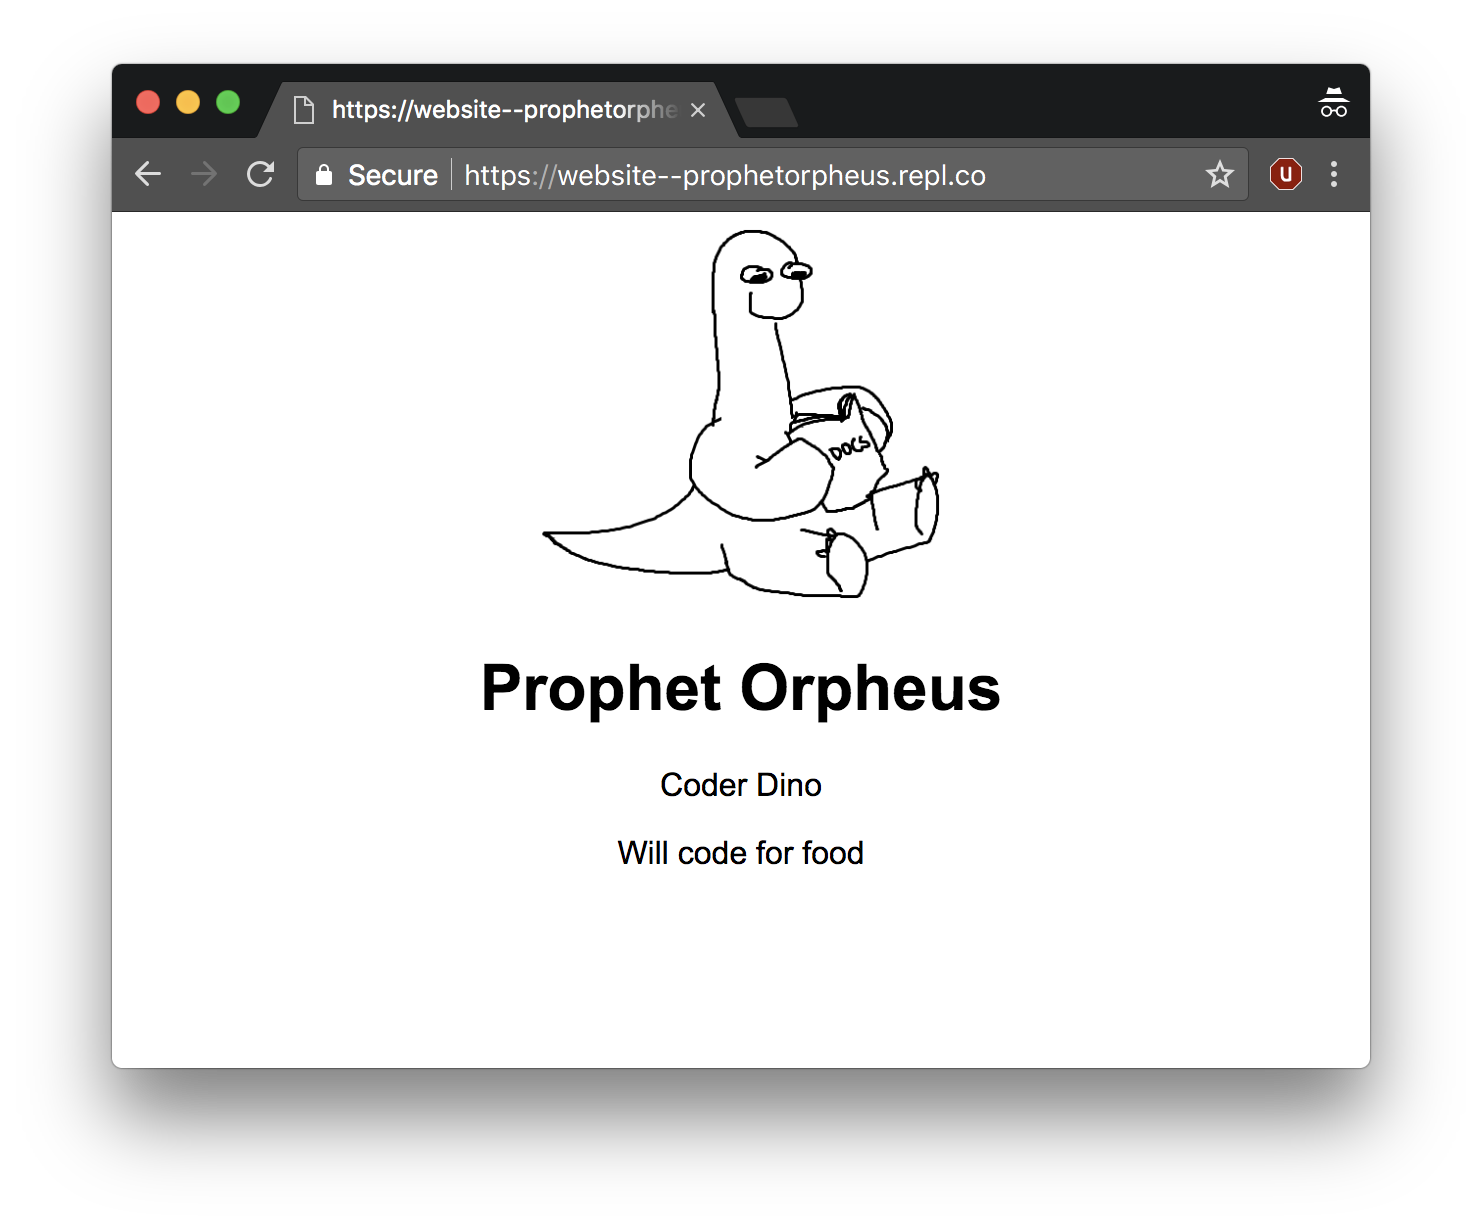
Here's the live demo and final code (see index.html and style.css).
This workshop uses VSCode, we recommend cloning a fork of https://github.com/cubstart/spring25 and then opening it in VSCode. Feel free to ask if you've got questions!
HTML stands for Hypertext Markup Language. Every website from the New York Times to Twitch uses HTML to display content on the web.
Create a index.html file by clicking the + button in the top and writing index.html

Type, in the index.html file, the following code. DO NOT COPY AND PASTE.
<!DOCTYPE html>
<html>
<head> </head>
<body></body>
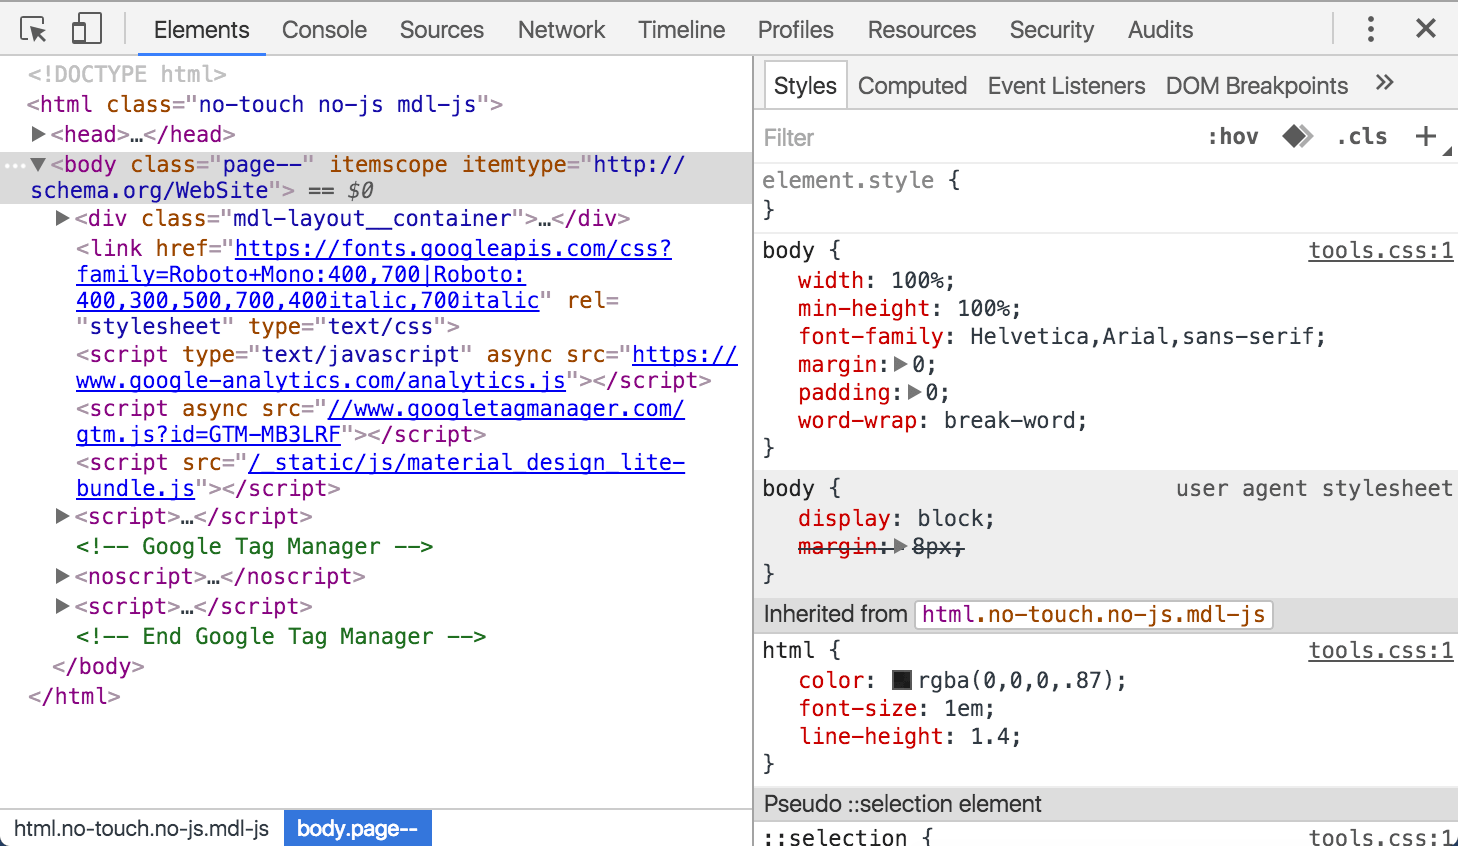
</html>This structure is common to all HTML pages. In fact, you can take a look for yourself! Just right click on any web page, including this one, and click "View page source" (sometimes called "Inspect" depending on your browser) to see what's going on behind the scenes. You'll find each of these elements on every page – the doctype, and an HTML tag wrapped around a head and body.
Before proceeding, we'll briefly go over what our template means.
HTML works by storing information inside tags. <html></html> is an example of one such tag. Inside <html></html>, we've placed two other sets of tags: <head></head> (which wraps around the "head") and <body></body> (which wraps around the "body"). The body holds everything you would see in the actual tab/window when you open the page, while the head conveys information about the page to the browser.
<!DOCTYPE html> tells the browser what version of HTML to expect. Since it is a language, HTML is constantly growing and updating, so there are multiple versions. In our case, we are going to use HTML5, the latest version.
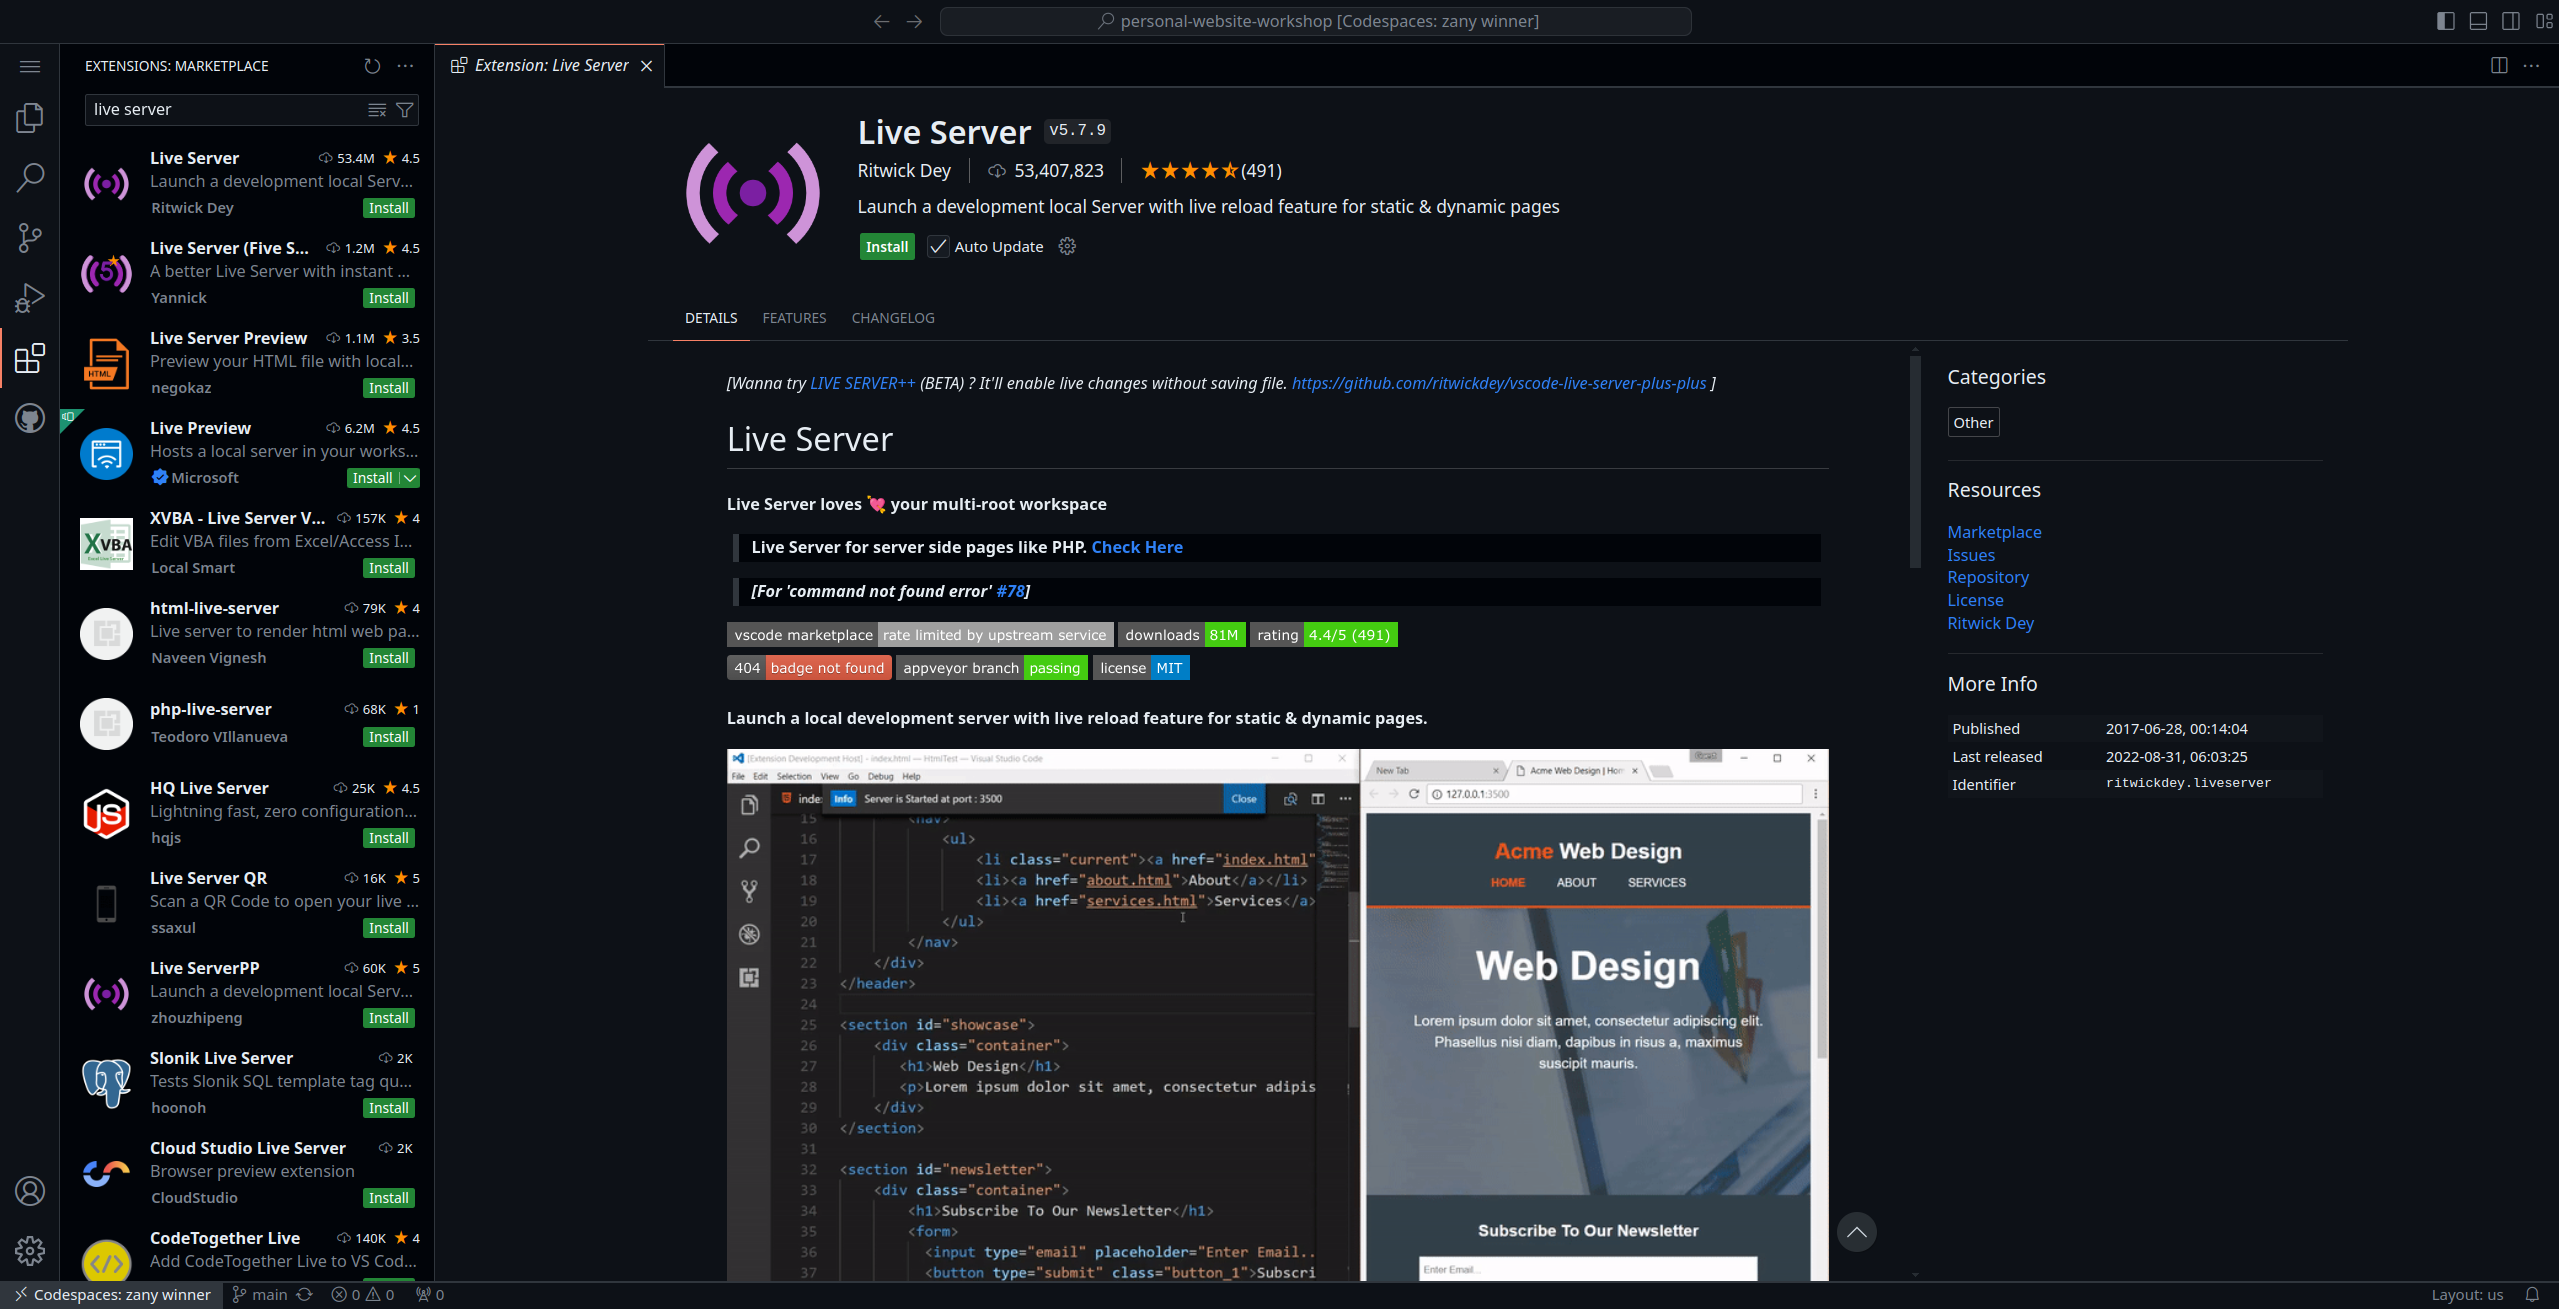
Let's check out what our HTML file looks like in Live Preview!
To do this, click on the extensions button in the left pane

Then, search for Live Server and click Install
Then, go to the files again (Click on the first button in the left pane) and click Go Live! in the status bar
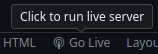
A new tab should open with your page!
Every time you save (Ctrl+S) your page the live preview will update.
Press F1 and type Simple Browser

Press enter and input the link of the new tab that opened in the previous step and press enter again
You should now have the preview alongside the editor!
As you can see, the page is blank. This is because we haven't added anything to the body section yet. Let's add some content!
As mentioned before, all information is wrapped in tags. Tags are predefined in the language; think of them as the words in the language. For text, HTML provides a number of tags to store text. We'll be using two of the most basic ones: the h1 tag (<h1>) and the paragraph tag (<p>). The h1 tag is the first in a series of heading tags, with h1 being the highest ranking, and h6 being the lowest ranking. Just as with the other tags, you can place information within the these tags by surrounding your content with an opening and closing tag.
Go ahead and add your name in a heading tag, and your description in a paragraph tag, in between the opening (<body>) and closing (</body>) tags. Here is Prophet Orpheus's name and description:
<!DOCTYPE html>
<html>
  <head> </head>
  <body>
    <h1>Prophet Orpheus</h1>
    <p>Coder Dino Will code for food</p>
  </body>
</html>
If your description was a few paragraphs, or had line breaks, you may have noticed that one <p></p> doesn't quite cut it. Adding extra blank lines or spaces between words in HTML does not change the spacing of the content. We can solve this by placing each paragraph in its own <p></p>.
<!DOCTYPE html>
<html>
  <head> </head>
  <body>
    <h1>Prophet Orpheus</h1>
    <p>Coder Dino</p>
    <p>Will code for food</p>
  </body>
</html>
Save your index.html and look at the Live Preview. Yay!
First, find an image you would like to include in your page. You can find something on Google Images, Facebook, or Imgur. We'll need the source URL of the image, so right click and select "Copy Image Address".
Images are included in HTML via the image tag, or <img>. The image tag has an attribute called src, which will hold the source URL of the image you want to display. As an example, if I were to add this picture of Prophet Orpheus, I would right click it and get the source URL, which in this case is https://github.com/hackclub/dinosaurs/raw/main/smart_dinosaur_docs.png, and put it in an image tag like so:
<img
  src="https://github.com/hackclub/dinosaurs/raw/main/smart_dinosaur_docs.png"
/>
You may have noticed that the image tag doesn't have a closing tag like <h1></h1> or <body></body>. That's because it is a void element, meaning that it doesn't have any contents.
Go ahead and add this into your index.html now. I put my picture before my heading, and my code looks like this:
<!DOCTYPE html>
<html>
  <head> </head>
  <body>
    <img
      src="https://github.com/hackclub/dinosaurs/raw/main/smart_dinosaur_docs.png"
    />
    <h1>Prophet Orpheus</h1>
    <p>Coder Dino</p>
    <p>Will code for food</p>
  </body>
</html>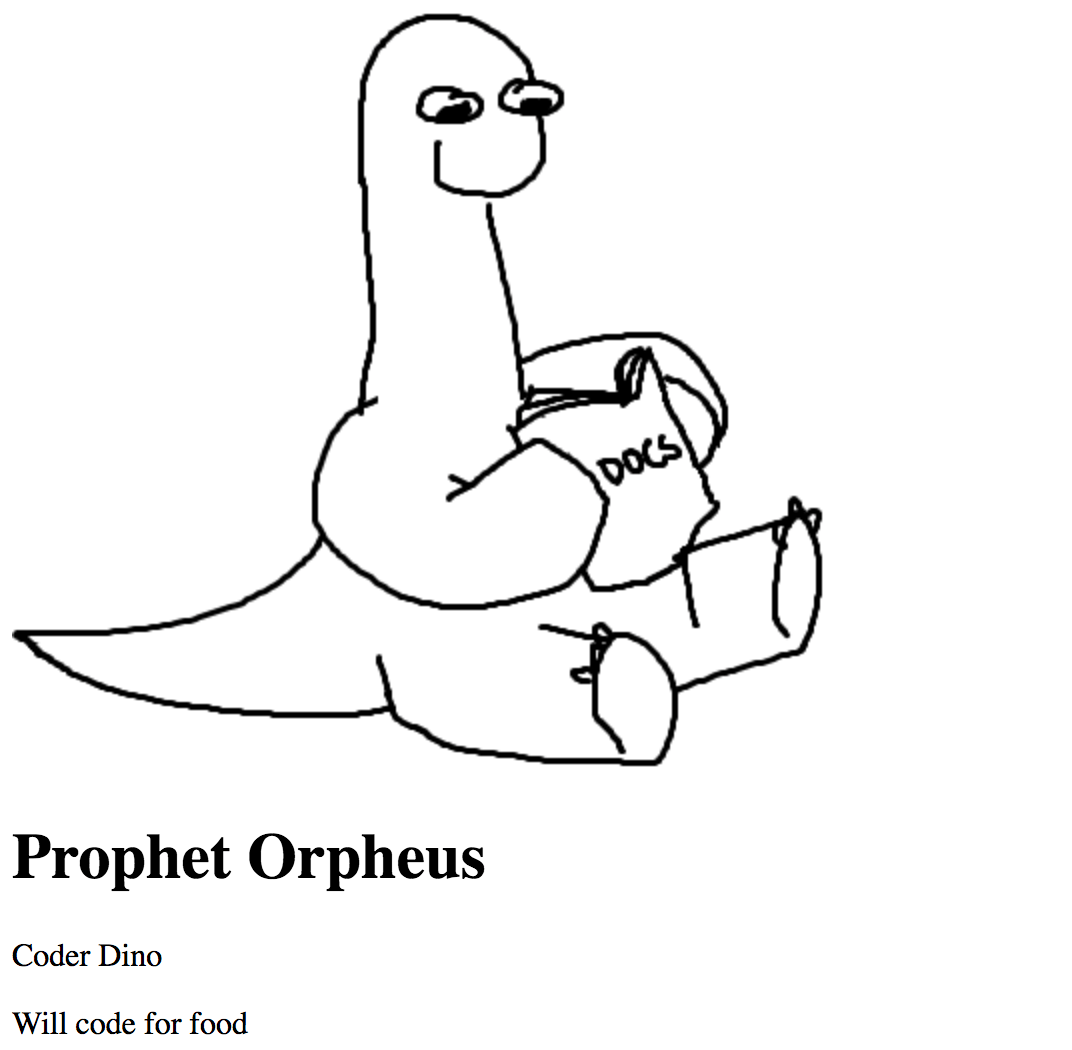
Remember, you need to save your program every time you want to see your updated website.
Though our website has some text on it and exists on the internet, we're not done. Our webpage is fully functional, but needs a little help in the look-and-feel department. Fret not. CSS will allow you to manipulate the styling of your page in all your needs.
So what is CSS? CSS, also known as Cascading Style Sheets, is a language used for styling the tags (or "elements") on a web page.
While HTML oversees the content and the way it's structured, CSS is how you'll specify how you'd like your content to look—with it you can set things like colors, spacing, and more.
Create a style.css file like you created index.html. This is called an external style sheet because the CSS file is external to the HTML file (i.e., the stylesheet is not inside the HTML file).
Although we have a CSS file now, until we explicitly tell the HTML file to use the CSS file, it will not use it. We must explicitly link the CSS file in the HTML. We'll do this by typing the following into the head of index.html (between <head> and </head>), because the head is where we tell information about the page to the browser.
<link rel="stylesheet" href="style.css" /><link /> is the link tag, which describes relationships between the current file (in this case, index.html), and some external file (style.css). In our example, rel="stylesheet" specifies what this relationship is, i.e., that style.css is a stylesheet, and href (hypertext reference) specifies where the file can be found (in this case, it's just the filename style.css). The link tag, similar to the image tag, is a self-closing tag, once again denoted by the / that precedes the >.
Our HTML file now looks like so:
<!DOCTYPE html>
<html>
  <head>
    <link rel="stylesheet" href="style.css" />
  </head>
  <body>
    <img
      src="https://github.com/hackclub/dinosaurs/raw/main/smart_dinosaur_docs.png"
    />
    <h1>Prophet Orpheus</h1>
    <p>Coder Dino</p>
    <p>Will code for food</p>
  </body>
</html>Now that we've linked our CSS file to our HTML file, let's write some CSS to resize the image.
Open up style.css and type the following:
img {
  width: 200px;
}
A CSS stylesheet contains "rules," each of which consists of a selector, and attributes and values within brackets, known as a "declaration block".
In our case, the selector is img. This merely selects all image tags (and thus, all images). The rule then says to set the width (width) of all things selected (in our case, all the images) to 200px. px refers to pixels, which are a unit of measurement on the screen. When this rule is applied, all the images on our page will have a width of 200 pixels.
Next, we're going to center-align the entire body section.
We'll add
body {
  text-align: center;
}
As with resizing the image, this rule specifies that every body tag should have a text-align attribute of center. This centers everything on our page because all of the content in our HTML file is written inside the body tag.
Now let's change the font of our text. We'll add another attribute, font-family, to the body rule, and set the value to "Arial". Now it will look like this:
body {
  text-align: center;
  font-family: 'Arial';
}
You can take this even further by adding a bit of color to the page! The attribute color (spelled without a u) allows you to set the text color, and background-color allows you to set a background color. You can find a list of supported color names over at W3Schools. Keep in mind that it's a good idea to pick a combination of colors will keep the text readable.
body {
  text-align: center;
  font-family: 'Arial';
  background: azure;
  color: purple;
}
Now be sure to save to get the most recent version of your website. Ah, it is truly beautiful to behold.